This guide will walk you through the steps required to successfully install and import the demo content for the Napoli – Photography WordPress Theme.
1. Install the Napoli Theme #
-
Log in to your WordPress Dashboard.
-
Navigate to Appearance > Themes.
-
Click on Add New > Upload Theme.
-
Upload the
napoli.zipfile and click Install Now. -
Once uploaded, click Activate.
2. Install Required Plugins #
After activating the Napoli theme:
-
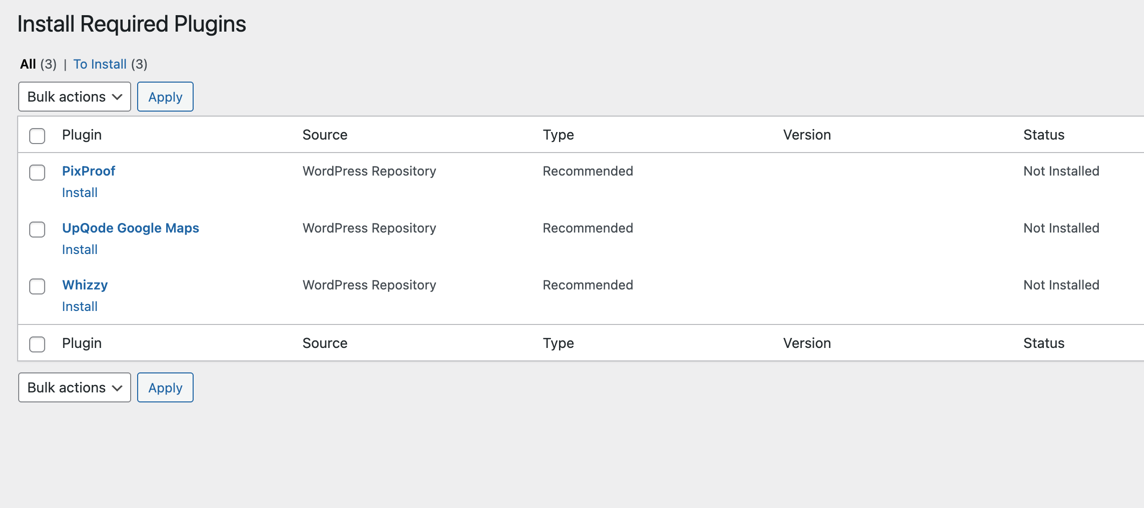
Go to Appearance > Install Plugins.
-
Install and activate all the required plugins. This includes:
-
Napoli Core Plugins
-
Whizzy Addons
-
WPBakery Page Builder
-
One Click Demo Import
-
Any other listed plugins (e.g., Contact Form 7, WooCommerce, etc.)
-
Important: Make sure all required plugins are activated before proceeding to the demo import step.
3. Import Demo Content #
Once all plugins are active:
-
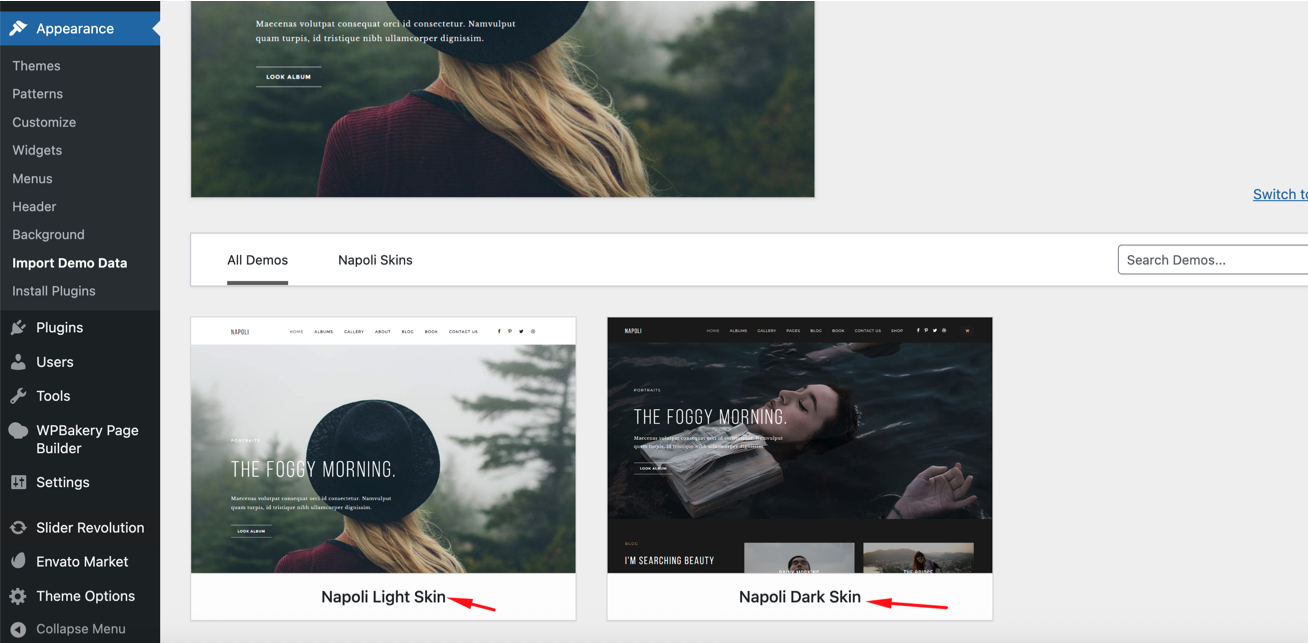
Navigate to Appearance > Import Demo Data.
-
Choose between the Napoli Light or Napoli Dark demo.
-
Click the Import button and wait for the process to complete.
The import may take a few minutes depending on your server speed. Please do not refresh or leave the page until the process is done.
4. If the Demo Import Fails #
-
If the import fails the first time, try the process again.
-
Make sure your hosting environment meets the WordPress minimum requirements, particularly memory limits and max execution time.
-
If the import keeps failing, contact our support team at this email with your purchase details and a brief description of the issue.
You’re all set! Once the demo import is completed successfully, your site will match the selected Napoli demo and you can begin customizing it with your content.
For further help or customization questions, feel free to reach out to us any time.
Fox Themes Support Team Email


