The Soapy theme uses Elementor for visual editing and the Aheto plugin for theme-specific features, including global header management. Follow the steps below to set up your header and logo as per the demo.
1. Import the Demo Content (to match the demo header) #
If you want the exact header used in the demo, you’ll need to import the demo content.
-
Go to WP Admin → Aheto → Demo Import.
-
Select the Soapy demo you want and run the import.
-
Wait until the import process completes — this ensures that the demo header template is available in your site.
2. Set the Global Header in Aheto #
-
In your WordPress dashboard, navigate to:
-
Aheto → Settings
-
-
Under the Global Header dropdown, select the header you imported from the demo.
-
Save changes.
3. Edit the Header with Elementor #
Once the header is set globally, you can customize it (including the logo) using Elementor.
-
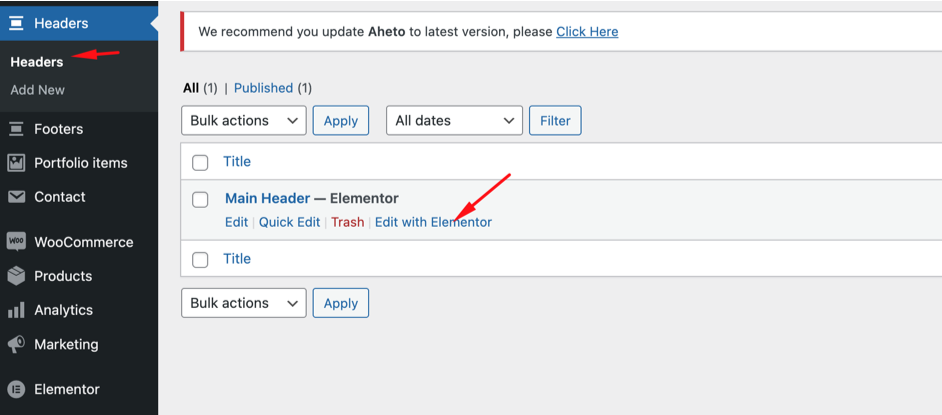
Go to WP Admin → Headers.
-
Locate the header template you imported.
-
Click Edit with Elementor.
4. Change the Logo #
-
In Elementor’s editor, click on the header container (this may be a section, column, or widget depending on the header’s layout).
-
In the left Elementor panel:
-
Go to the Content tab.
-
Find the Logo option.
-
Upload or select your desired logo image from the media library.
-
-
Update the page to save changes.
![]()
5. Customize Menu & Icons #
While still in the header editor, you can also set up navigation and icons:
-
Menu: Select the menu you want to display from the dropdown in the menu widget settings.
-
Shopping Cart Icon: Enable or disable it in the widget settings, depending on whether you have WooCommerce active.
-
Search Icon: Toggle it on/off and customize its style.
Click Update to apply changes to the live site.
6. Final Check #
-
Visit the front end of your site.
-
Confirm the new logo, menu, and icons appear as expected.
-
Test on both desktop and mobile views to ensure responsive display.


