Theme Installation #
In this article, we’ll cover the process of getting the X theme downloaded from your ThemeForest account and installed on your WordPress website before we get started, you should make sure you already have a WordPress based website you wish to install the theme on.
Getting started #
Go to ThemeForest and login to your ThemeForest account.
Once logged in, you’ll be on the main ThemeForest homepage, we want to get to downloads, so hover over your username top right and click on downloads like this:

Once you’ve clicked on downloads, you’ll be taken to the downloads section of your account, which will list all purchased products, scroll down till you see the X theme like this:
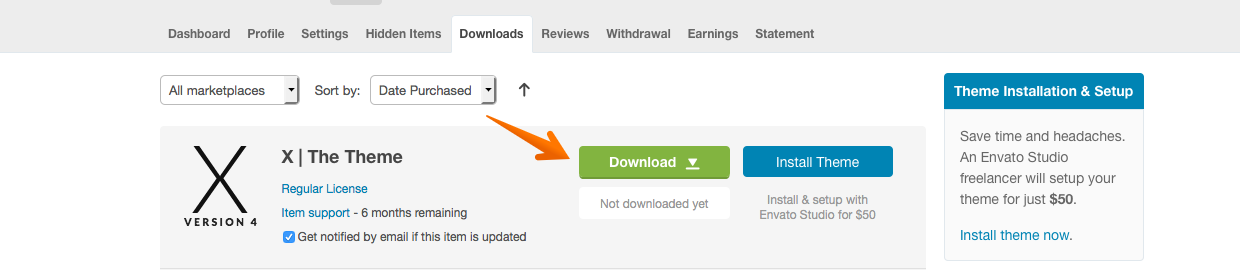
Then click download, once you click download you’ll see a few different options like this:

The two main options are:
- All files and Documentation. This option will download a .zip file which will include the theme, all extensions, documentation and the licensing information.
- Installable WordPress files only. This option will just download the theme in a .zip format to your WordPress site.
For the purpose of this article, we’ll just going to use the installable WordPress files only option. Go ahead and click on that option to start the download. Once the download is completed navigate over to your WordPress dashboard (wp-admin).
Installing The Theme #
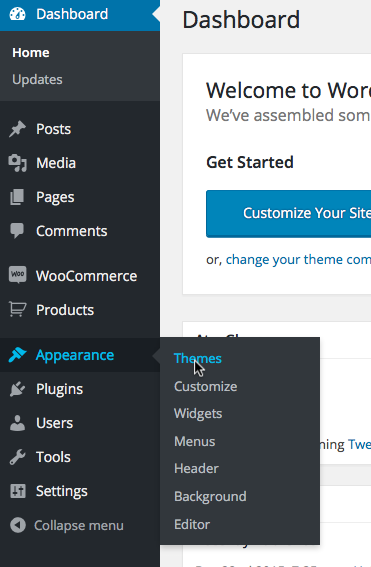
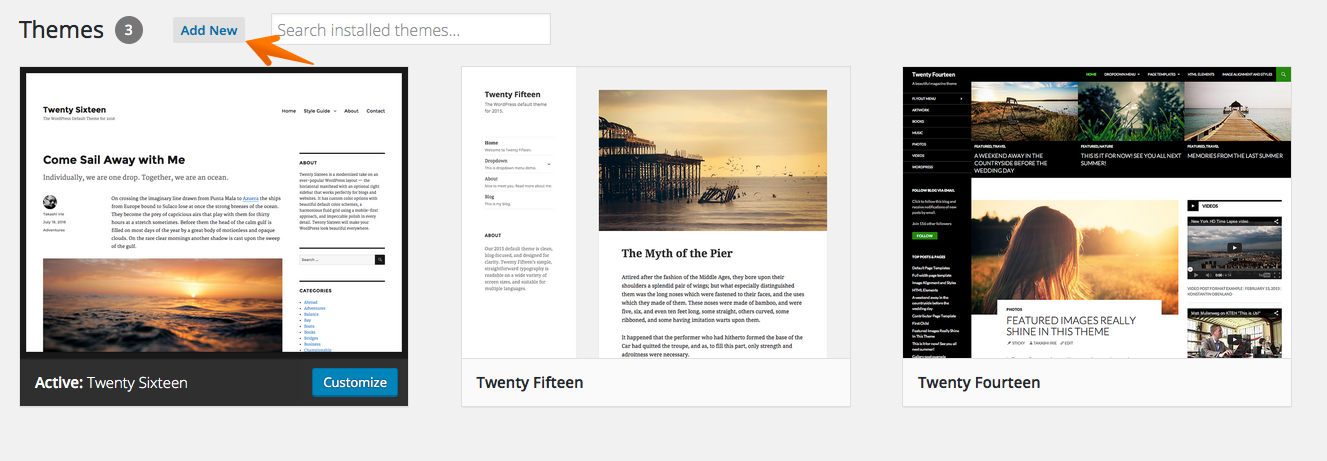
Now you’ve downloaded the theme, we’re ready to install it! In your wp-admin, hover over Appearance on the left hand side menu and then click Themes:
On the Themes page, click Add New:
On the Add New Themes page, click on Upload:
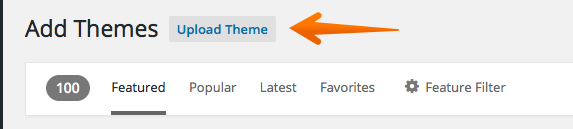
Once you’ve clicked on Upload, you’ll then see the option to browse to upload your new theme, click on browse and select the zip you just downloaded from ThemeForest:

Once you’ve picked your theme, click on Install Now. Wait for install to complete and you’ll see a screen like this:

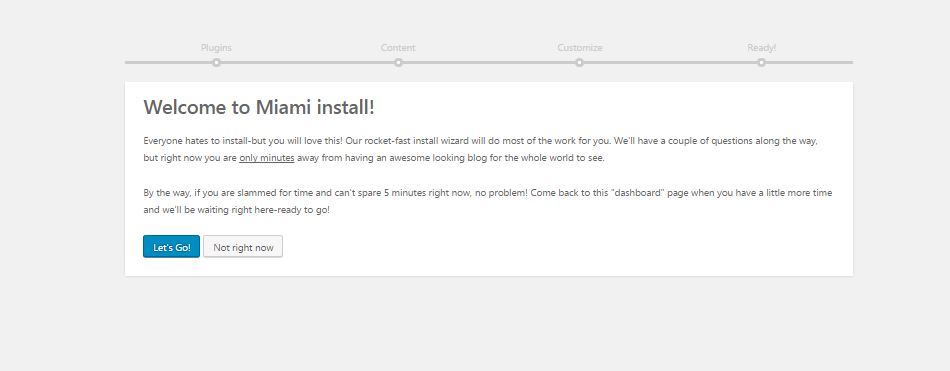
Click on Activate and you’ll be redirected to the theme welcome screen like this:
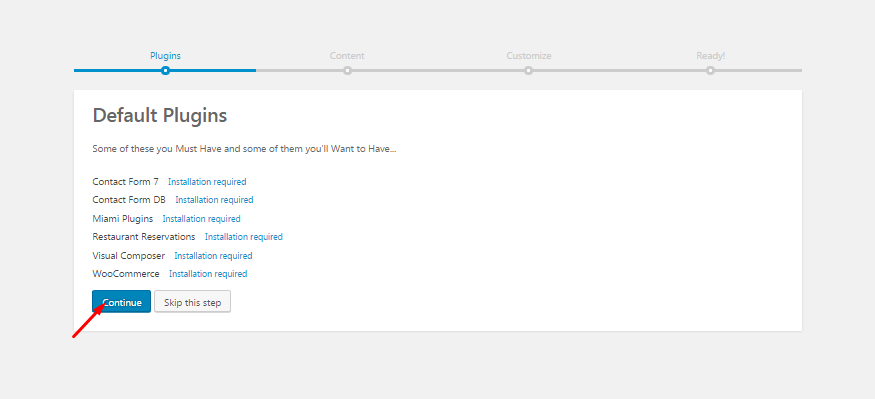
Default Plugins. Wizard will ask you to install theme required plugins. Click “Continue” and it will install and activate all required plugins.
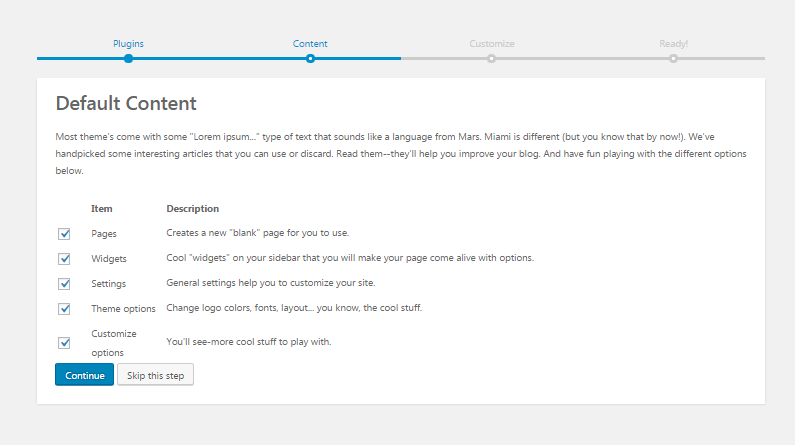
Default Content. By clicking “Continue” setup wizard will import all demo data – pages, posts, portfolios and media files. Please note that import process will take time needed to download all attachments:
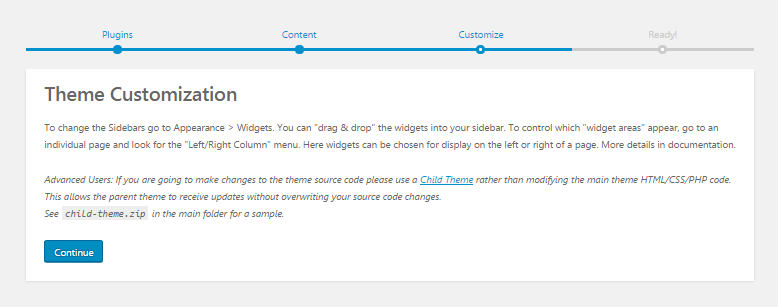
Theme customization. Here you can read information about widgets and child theme. Click “Continue”:
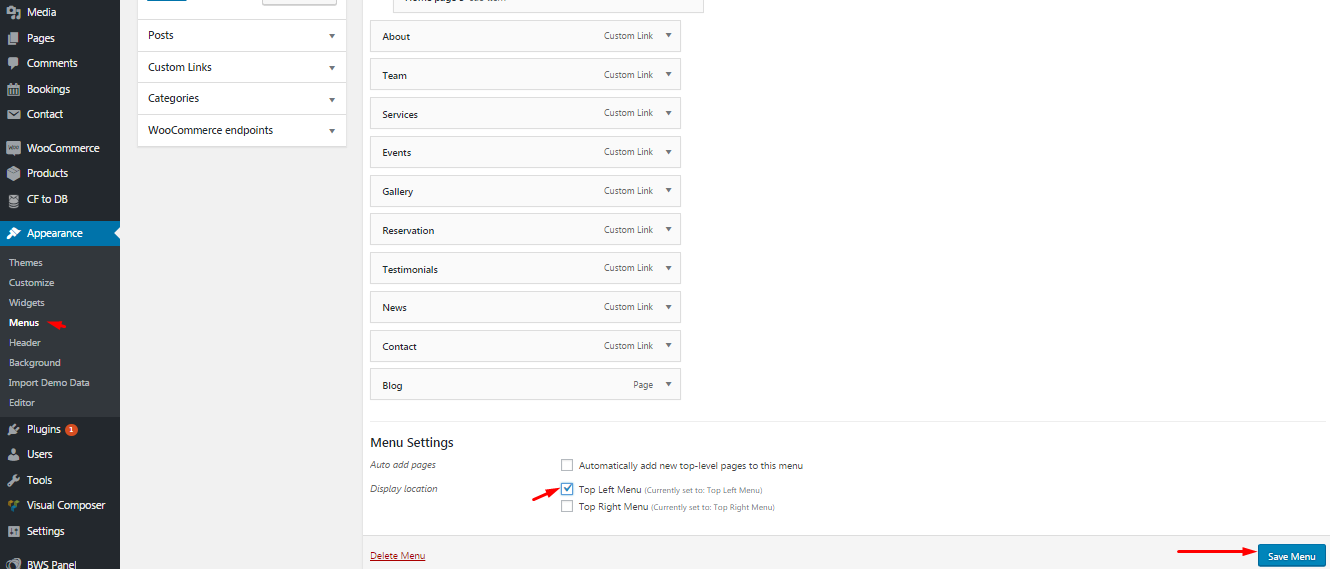
There is the last step – setting menu. Go Appearance ⇒ Menus. All you need is to mark “Primary menu” as Top navigation and Save changes:
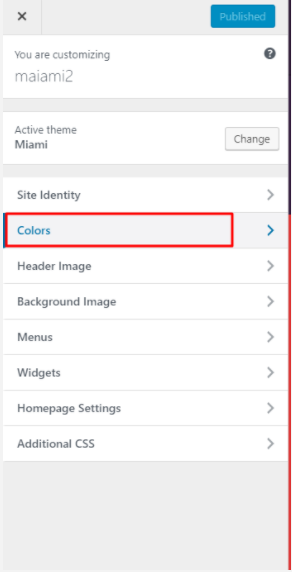
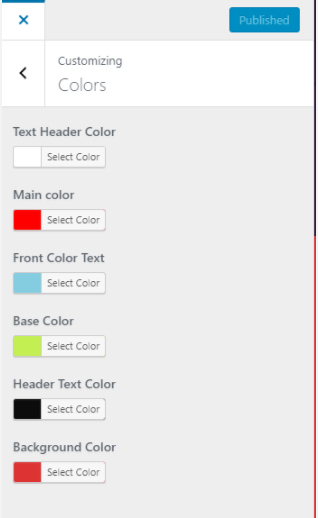
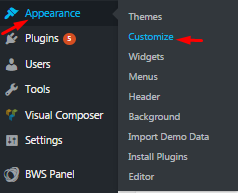
here is also the possibility to change theme colors on all pages. For that
Go to Appearance > Customize
Press on Colors button and choose an appropriate color for headers, Main, Base, background, etc. colors: