Note: In order to import demo data, make sure that you’ve installed all required plugins, you can read here how to do that.
To import demo data you need to follow a few very simple steps:
- Go to Dashboard
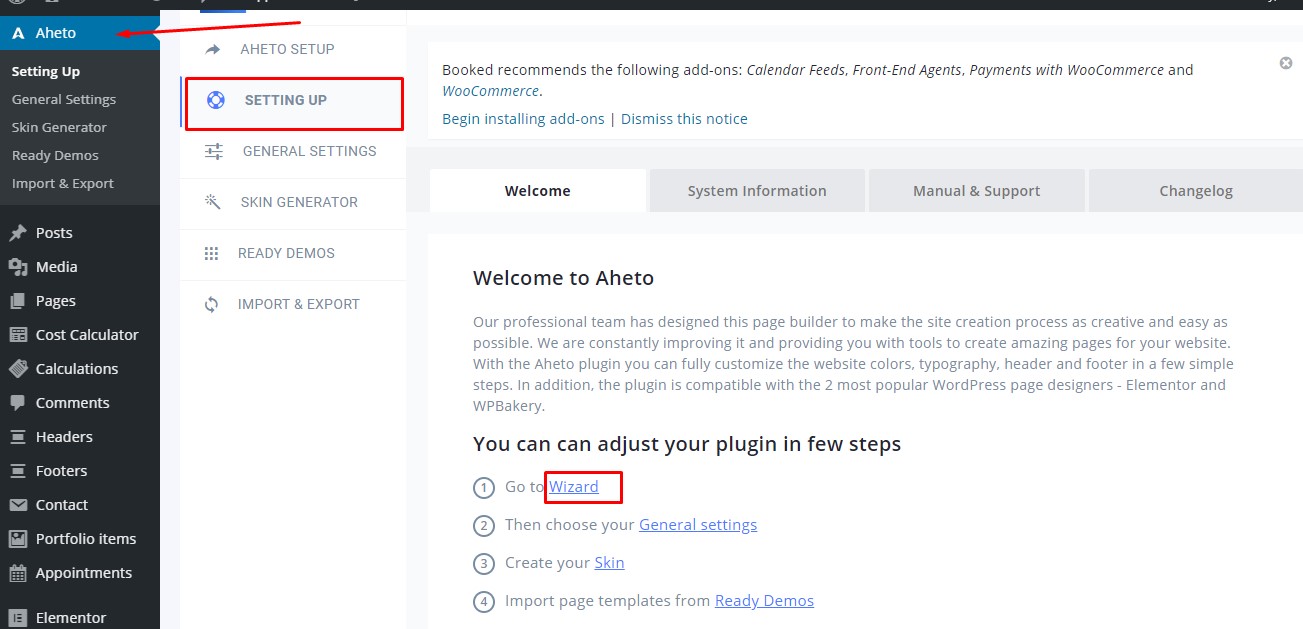
- Click on Aheto icon on the Pannel → Setting Up → Go to Wizard.
- Introduction. Here open Welcome Page with background information. Read and click on the button “Let`s Go!”

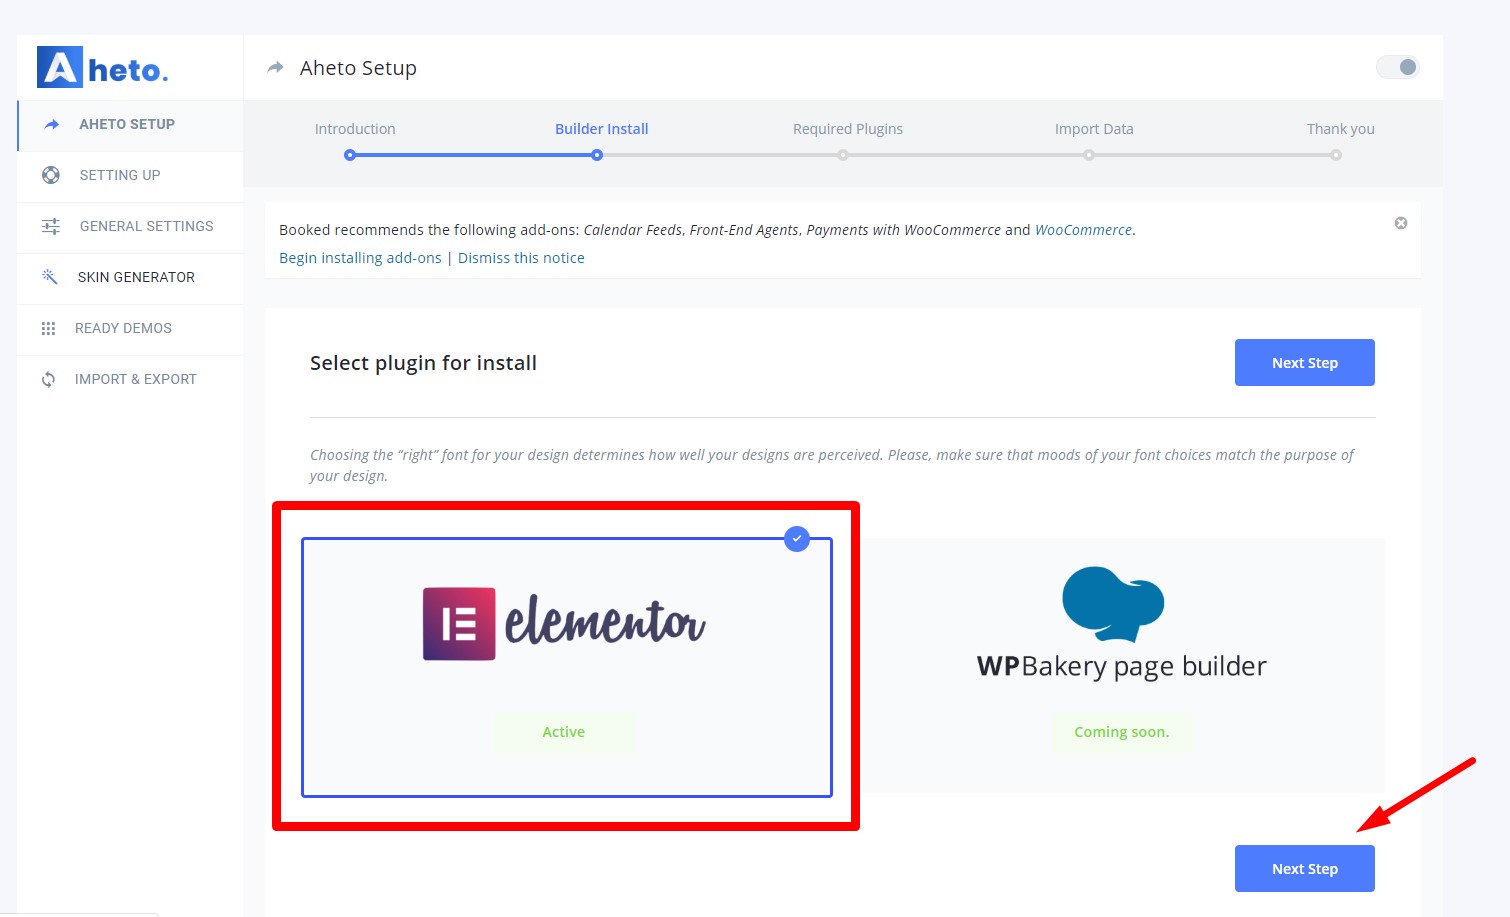
- Builder Install. Please, select Page builder to install. Currently available is Elementor (and WPBakery is coming soon in Aheto updates) and go to the Next Step.
- Required Plugins. On this step, you have to install required plugins for working with Aheto plugin. In case you follow our instructions, these plugins are already installed. Read how to install required plugins
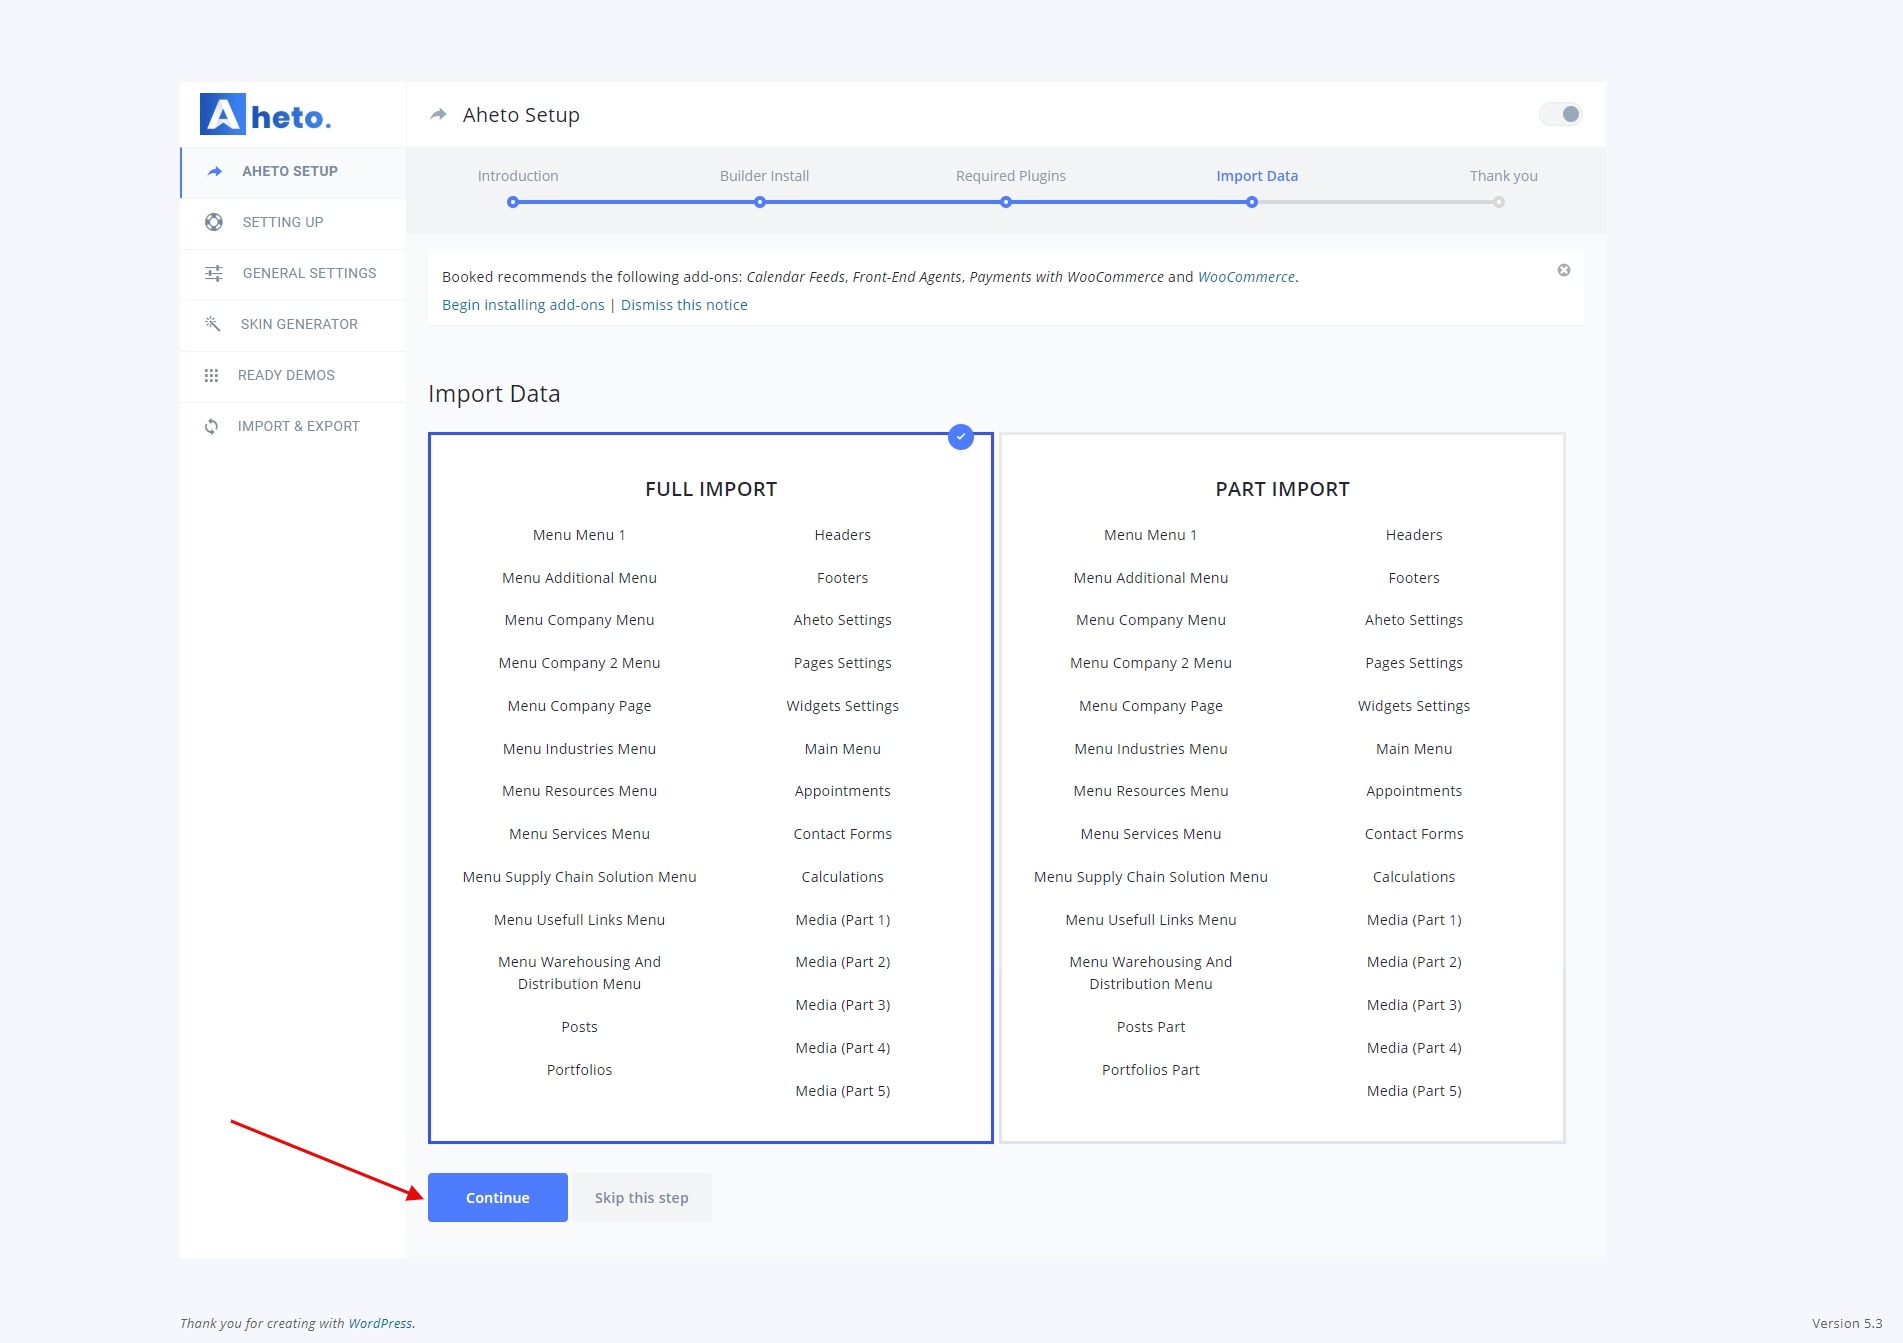
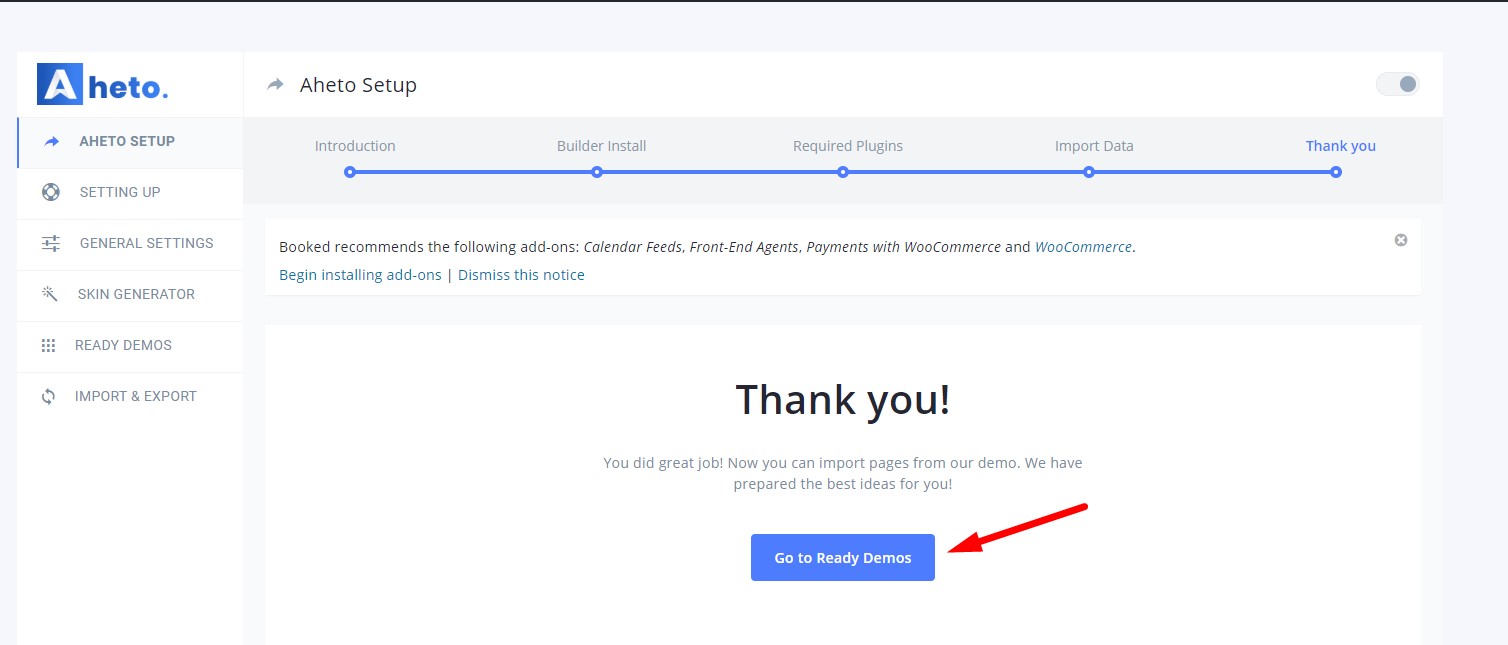
- Import Demo Data. Please select Full or Part Import and click on the button “Import”
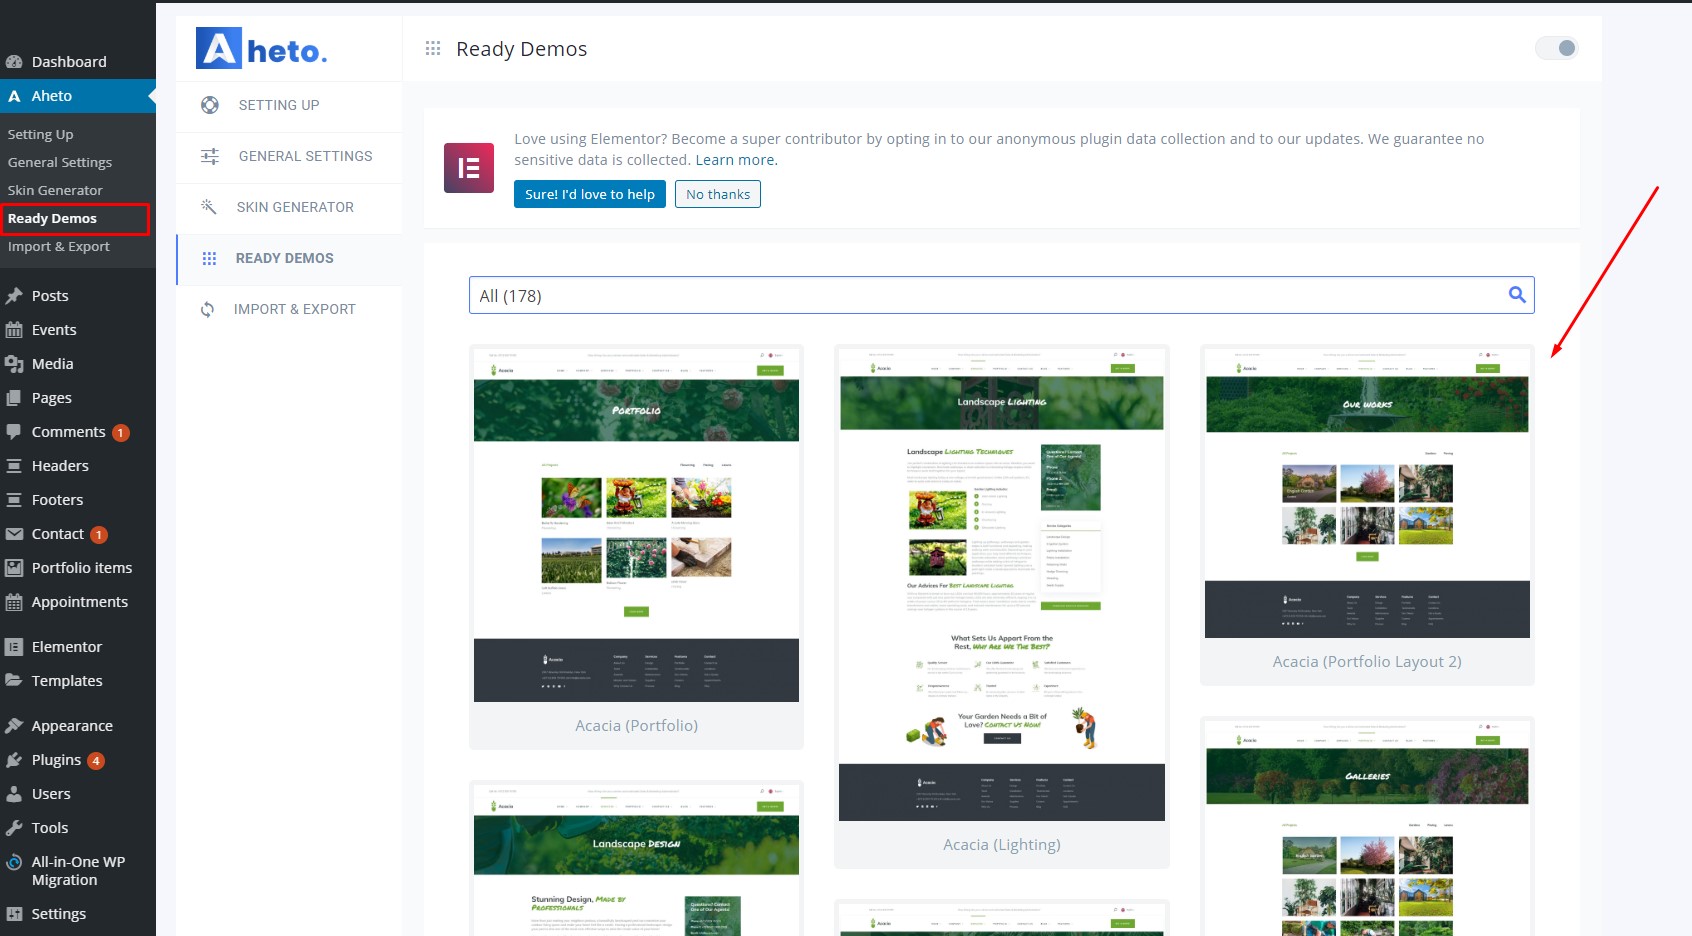
- After successful settings import go to the Ready Demos
- Here you can find the list with ready theme demos. We call theme demo all pages that we’ve created and page options, settings, widgets, etc. You can import just that content that you wanna have on your website. To do this, select pages that you would like to be imported.
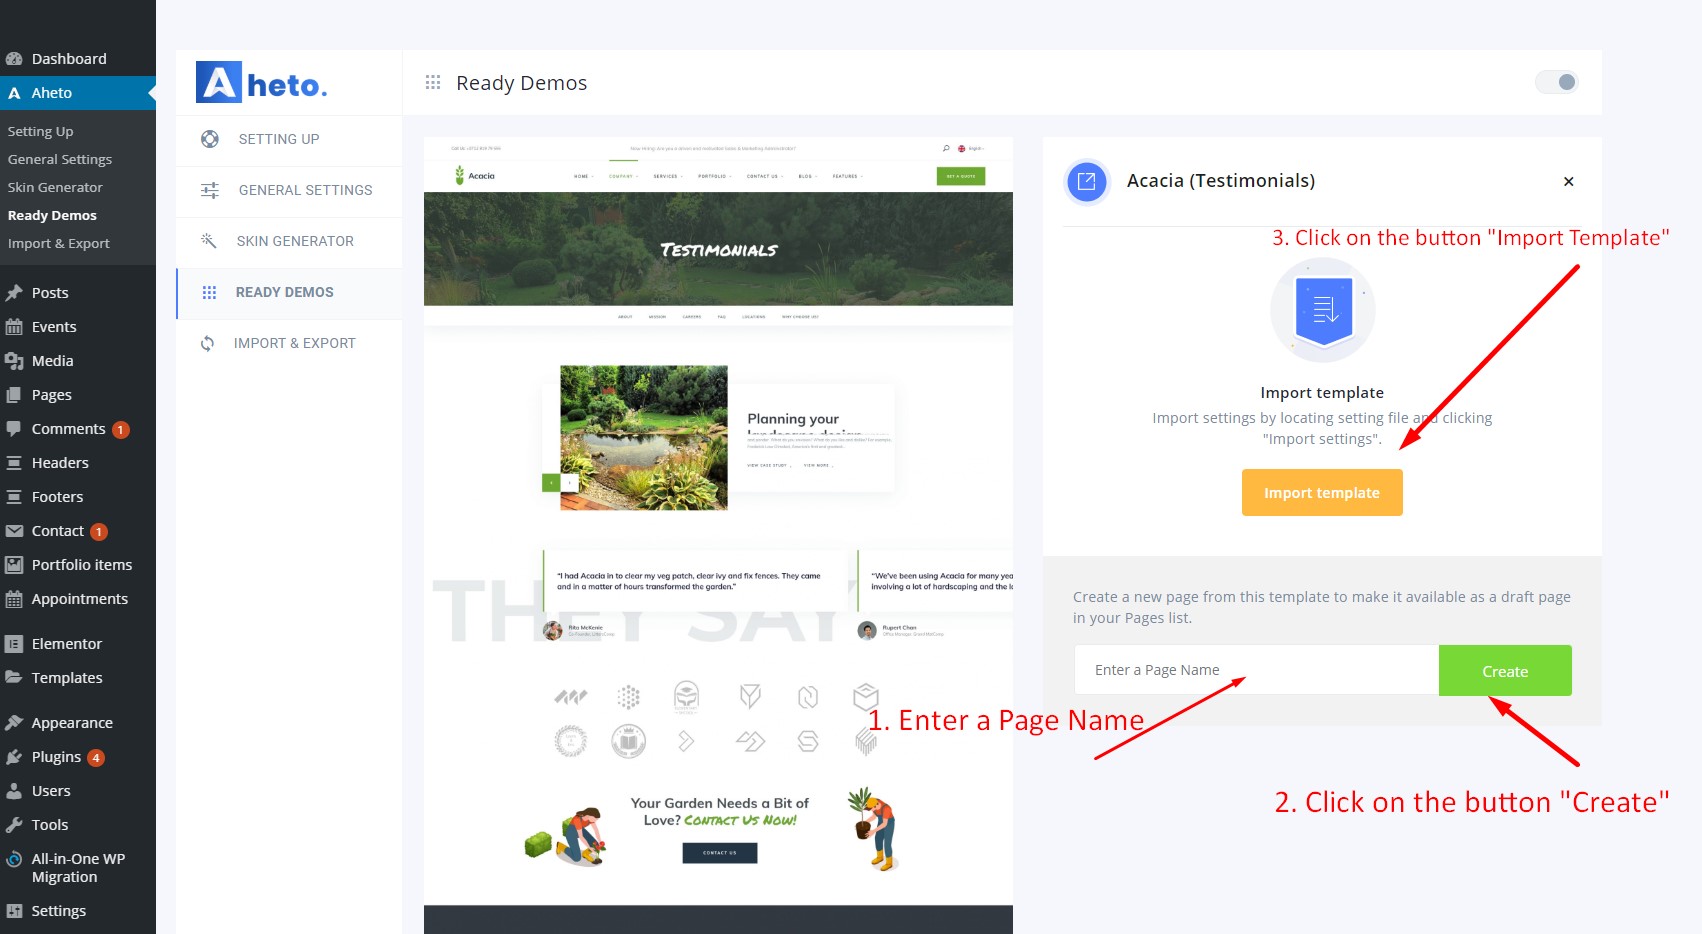
- Note: All screenshots are taken from the Acacia WordPress Theme setting. For your theme, the steps below will be similar.
- After that, please, enter a page name and click on the button “Create”. After notification about successfull creating, click on the button “Import Template”
- Once you imported demo data, you need to update some settings (read details below) to properly display your pages.
1. Pages Update
For the properly display imported pages, please, Go to Dashboard —> Pages —> Edit Page
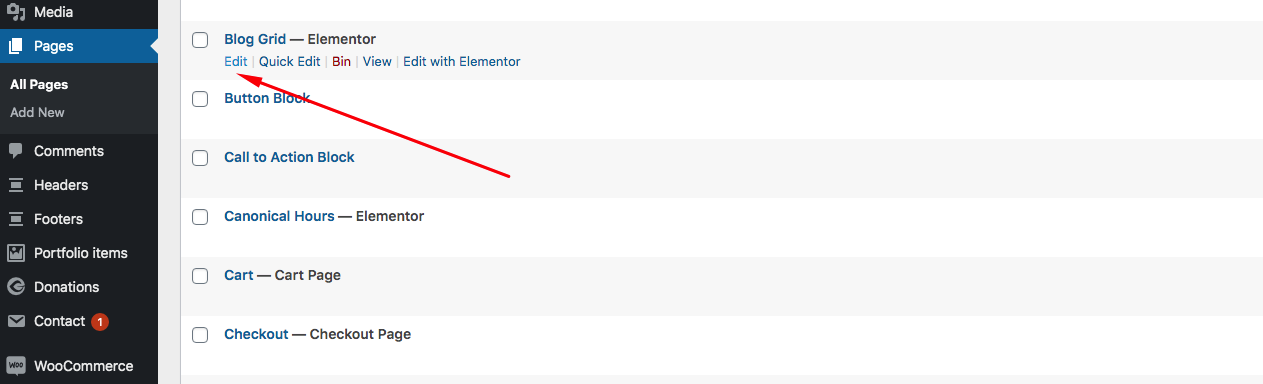
and click on the button “Update”.
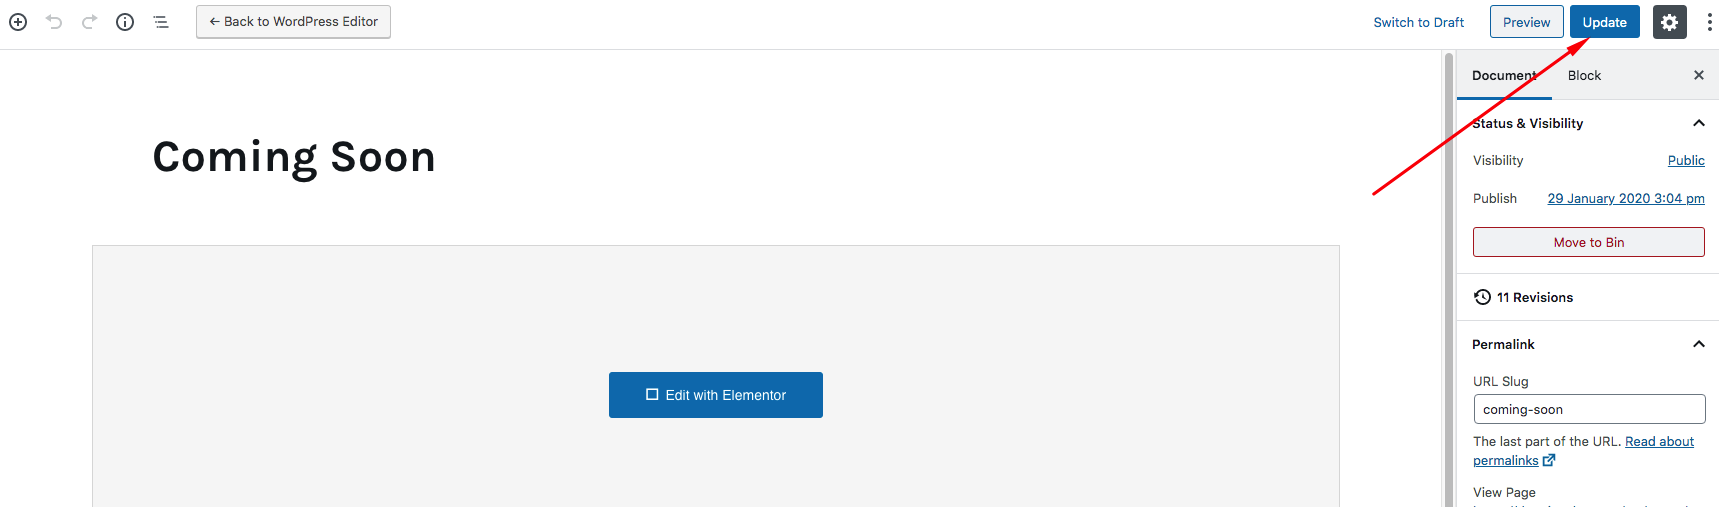
Note: All imported pages should be updated in this way.
2. WooCommerce Updates
If you want to use Shop on your website, please, Go to Dashboard —> WooCommerce –> Wizard and update Plugin settings.
3. General Settings and Skins Update
Go → Aheto → General Settings. You need to update the Default Builder settings and Skins Settings. To do this, please, select in the settings area Visual Composer as Default Page Builder (1) and Save changes (2). After that, please, restore your changes (select Elementor as Default Page Builder again) and Save Changes.
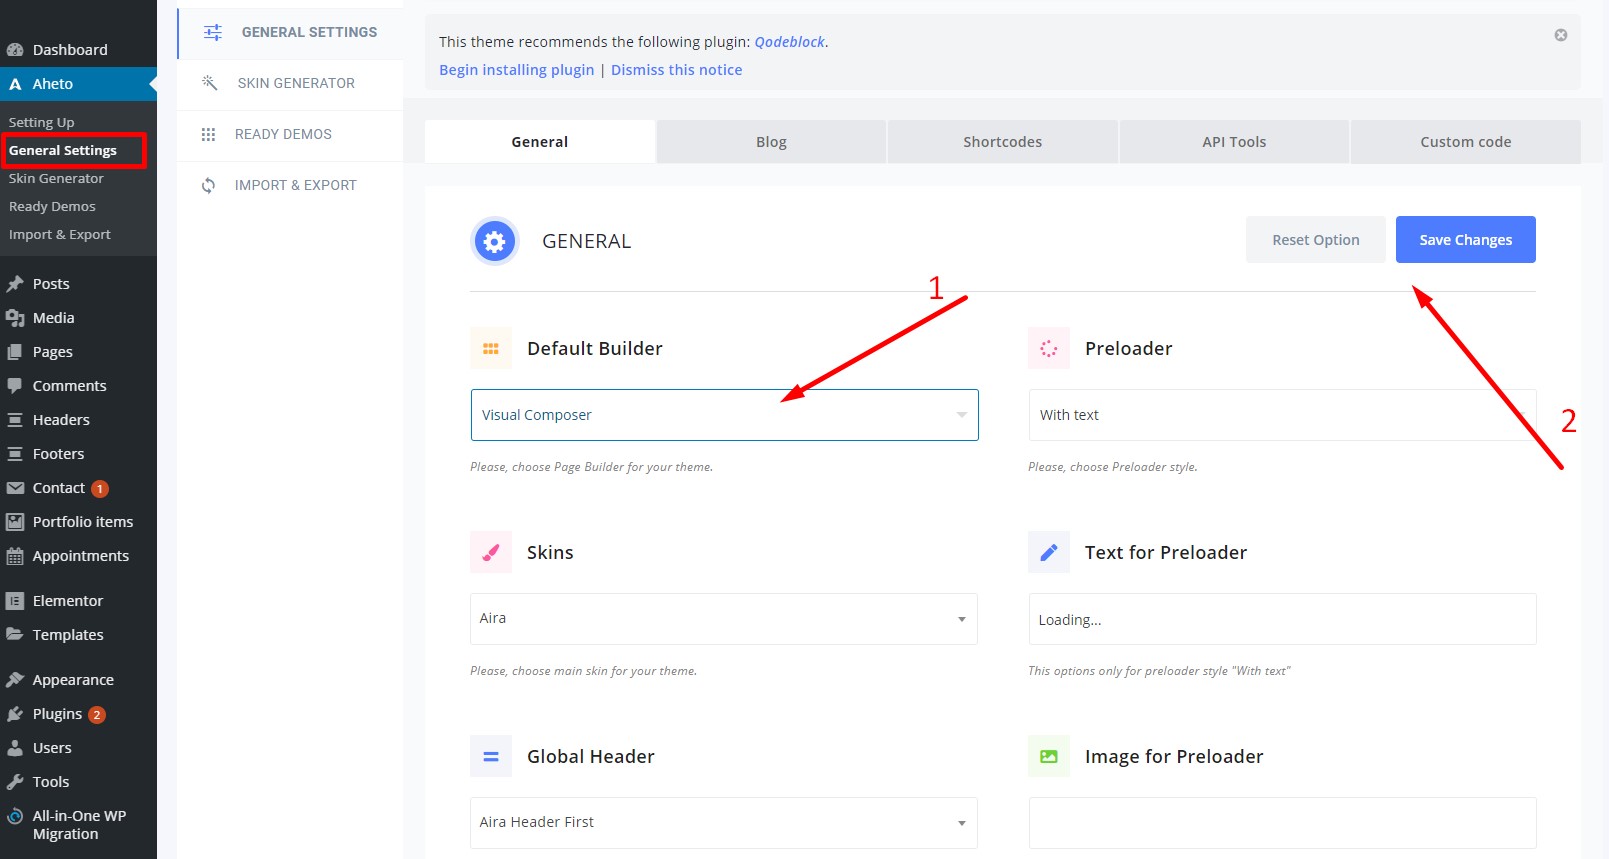
The same steps must be followed to update your Skin Settings
4. Header/Footer Updates
Go to Dashboard → Header. Here you will see a list of existing header styles. You need to update the settings of each one. To do this you need to take the following steps:

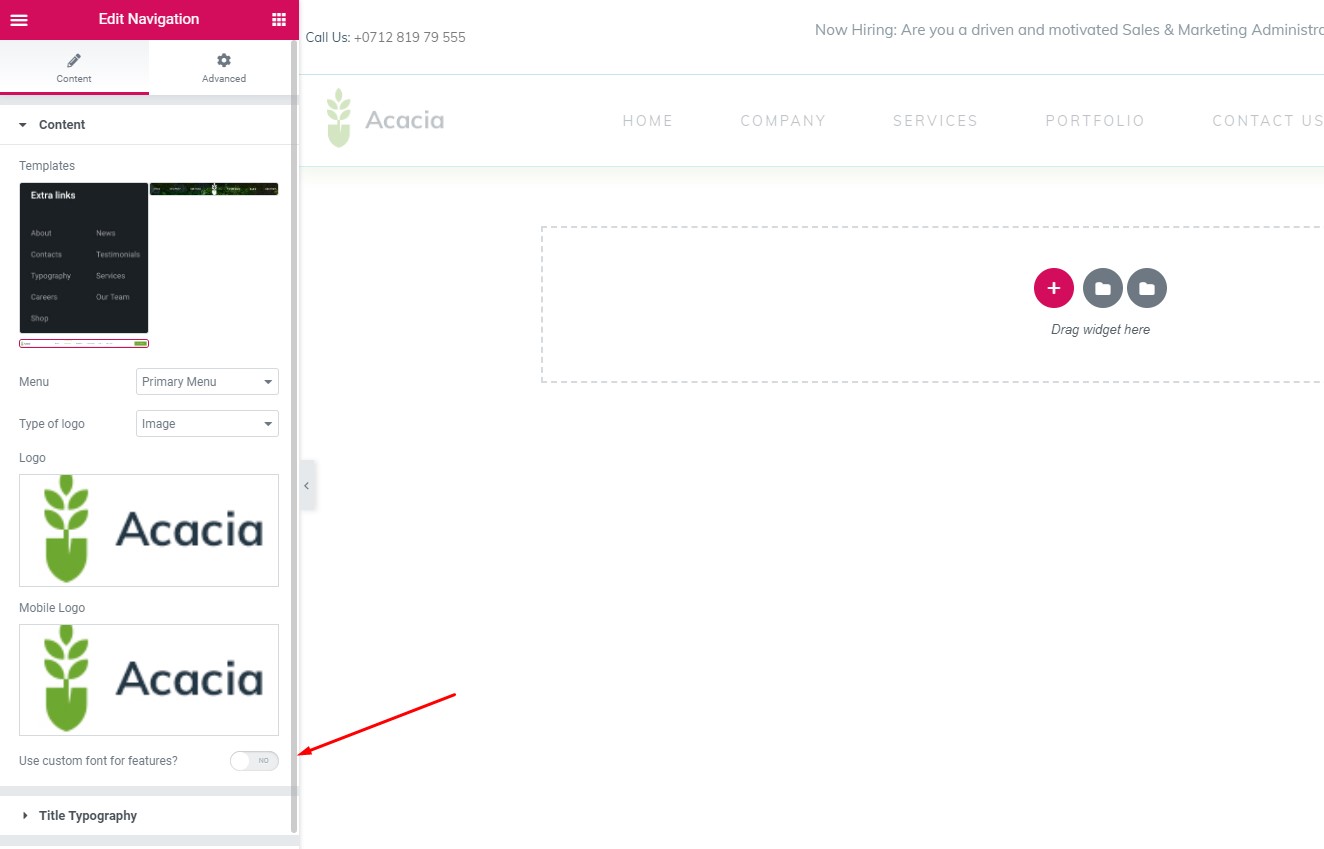

4. After these steps, the “Update” button will become active. Click “UPDATE” button.
The same steps must be followed to update your footer settings
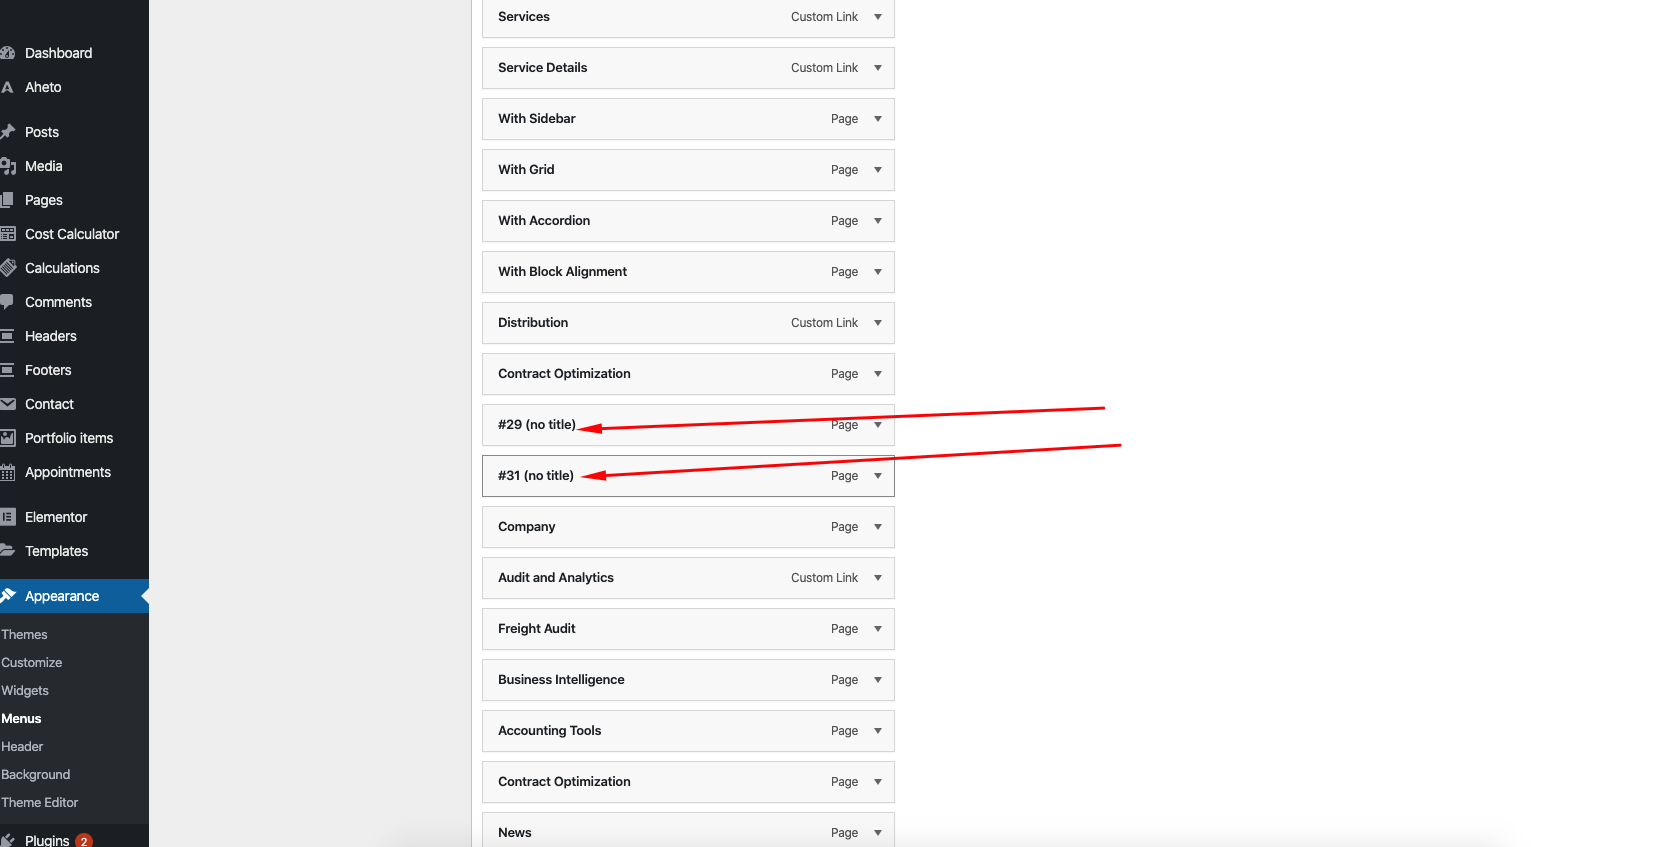
5. Menu Settings