To write a post: #
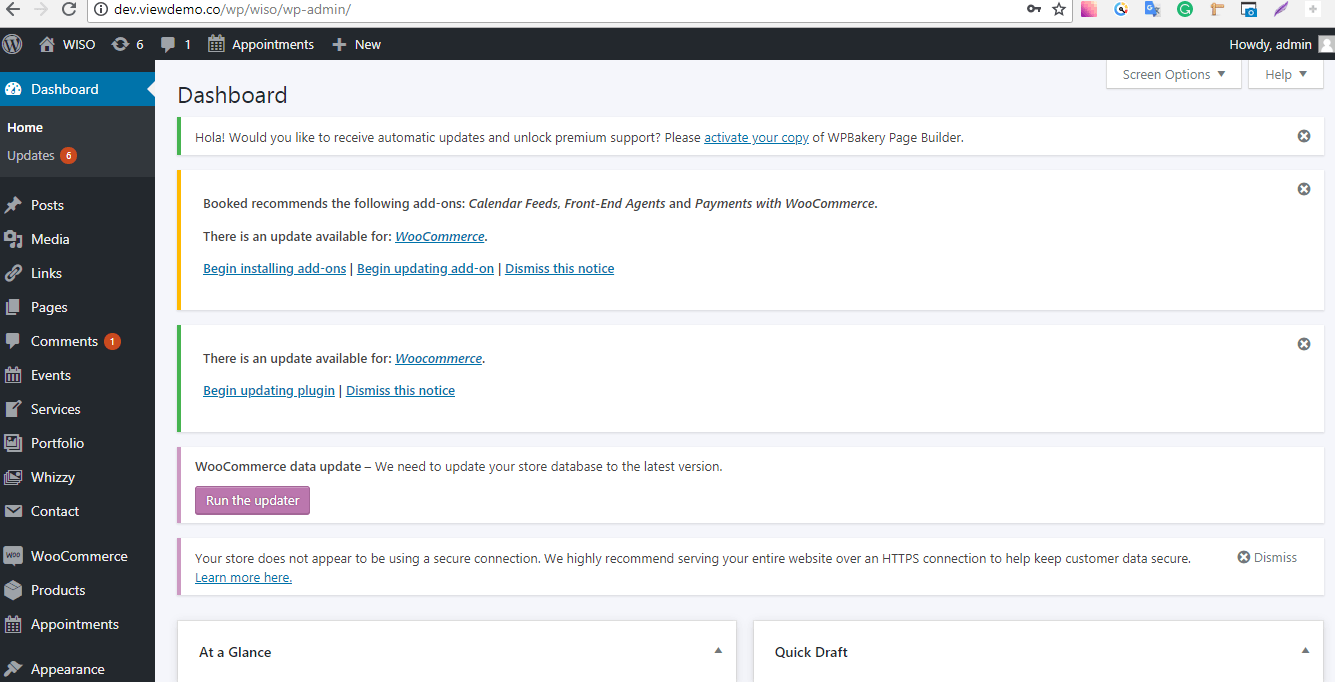
Log in to your WordPress Administration Panel (Dashboard).
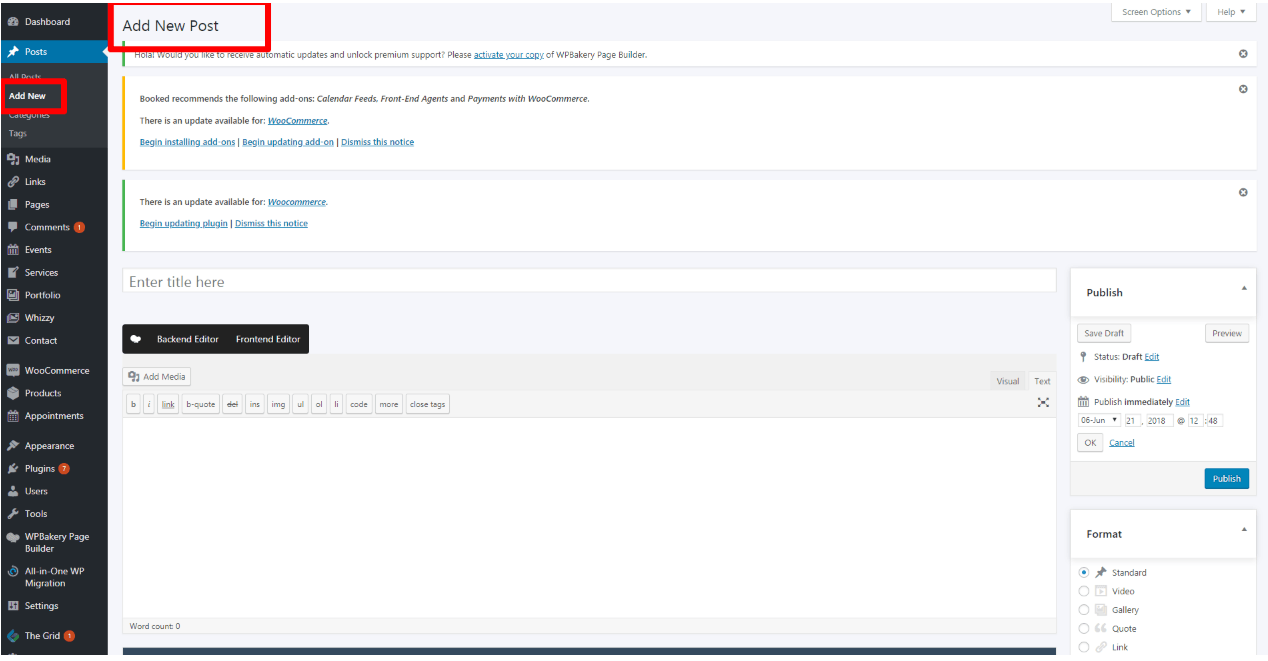
Click the ‘Posts’ tab.
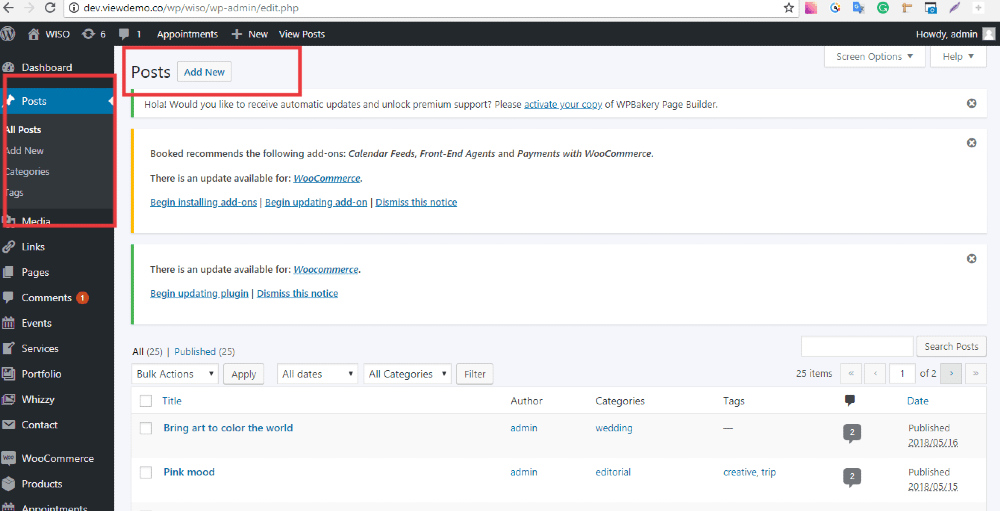
Click the ‘Add New’ sub-tab.
Click the ‘Add New’ sub-tab.
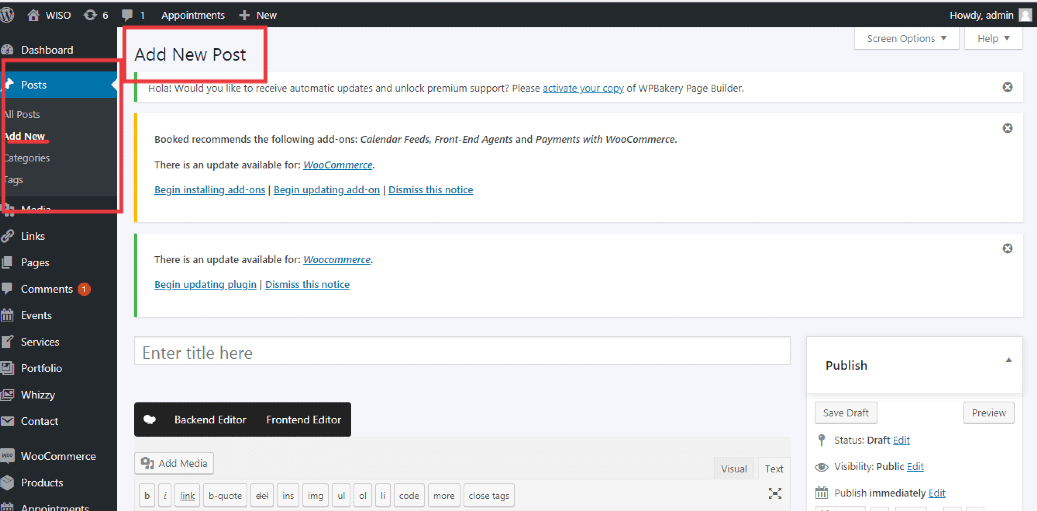
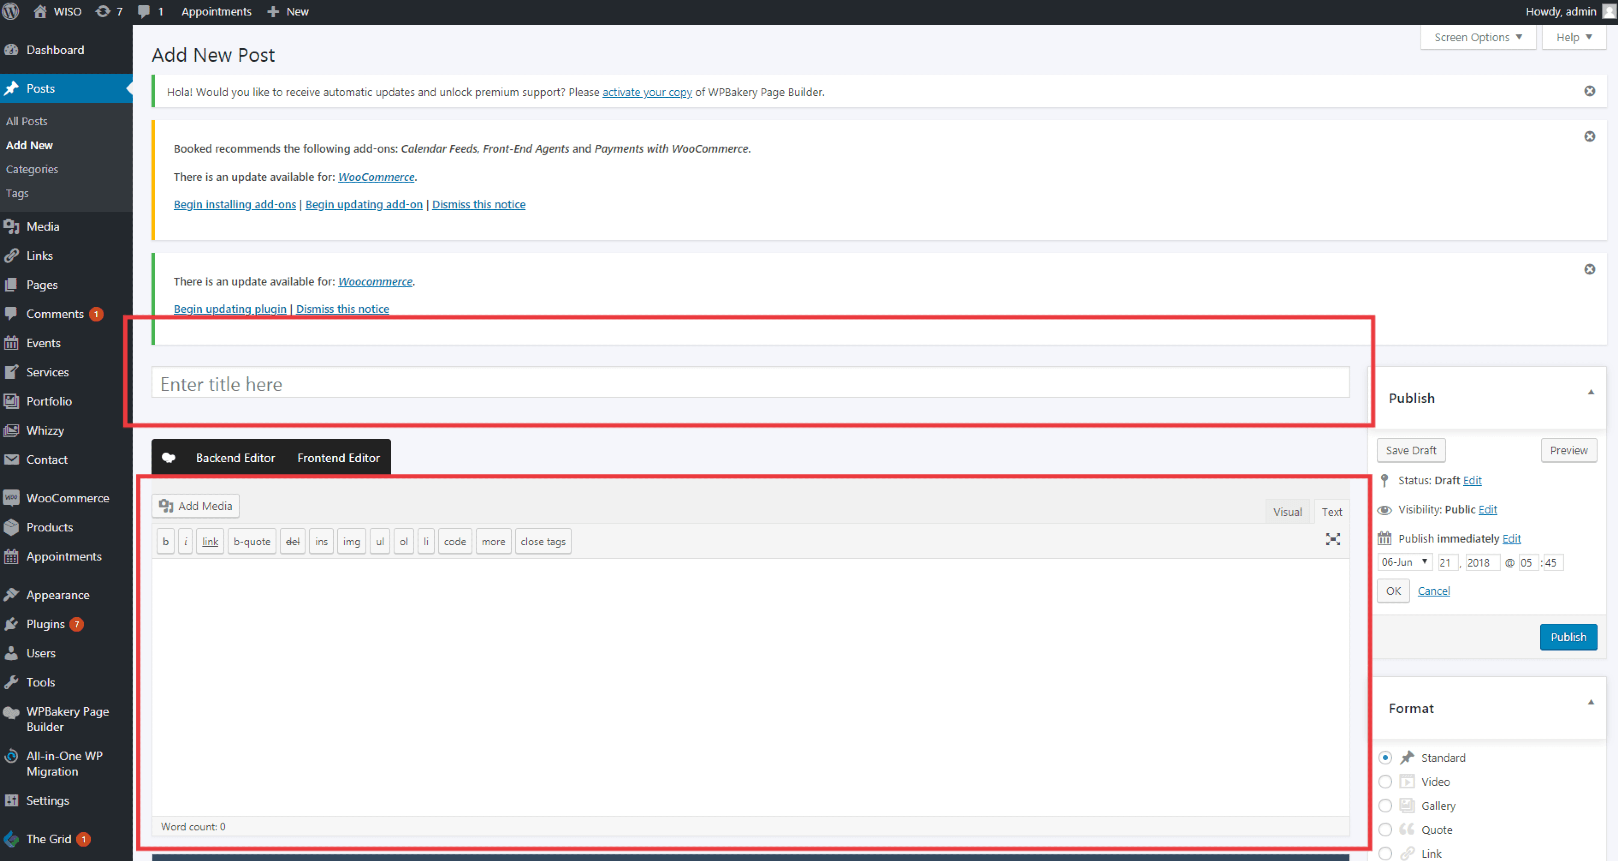
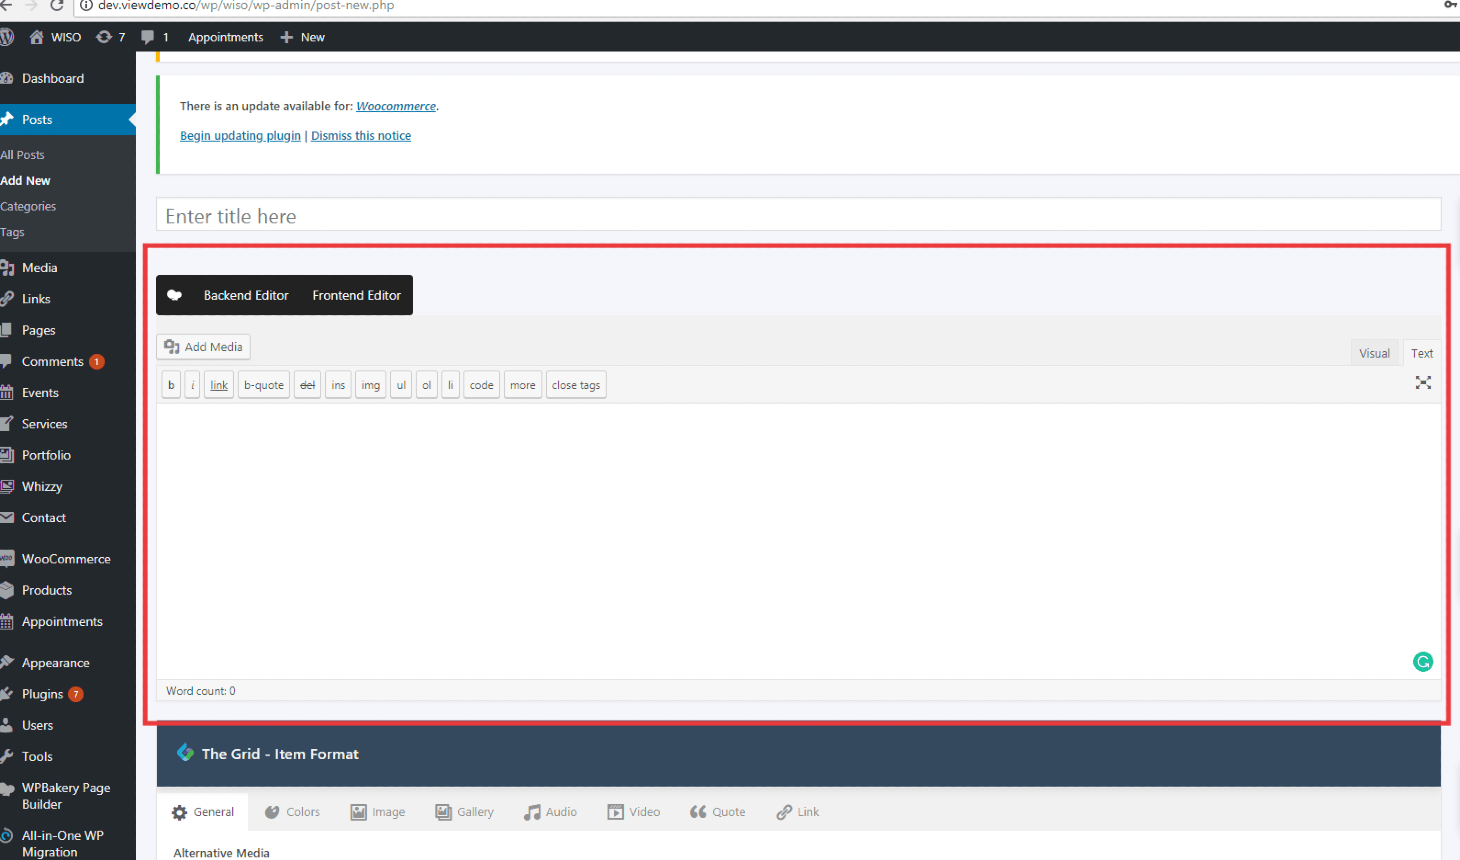
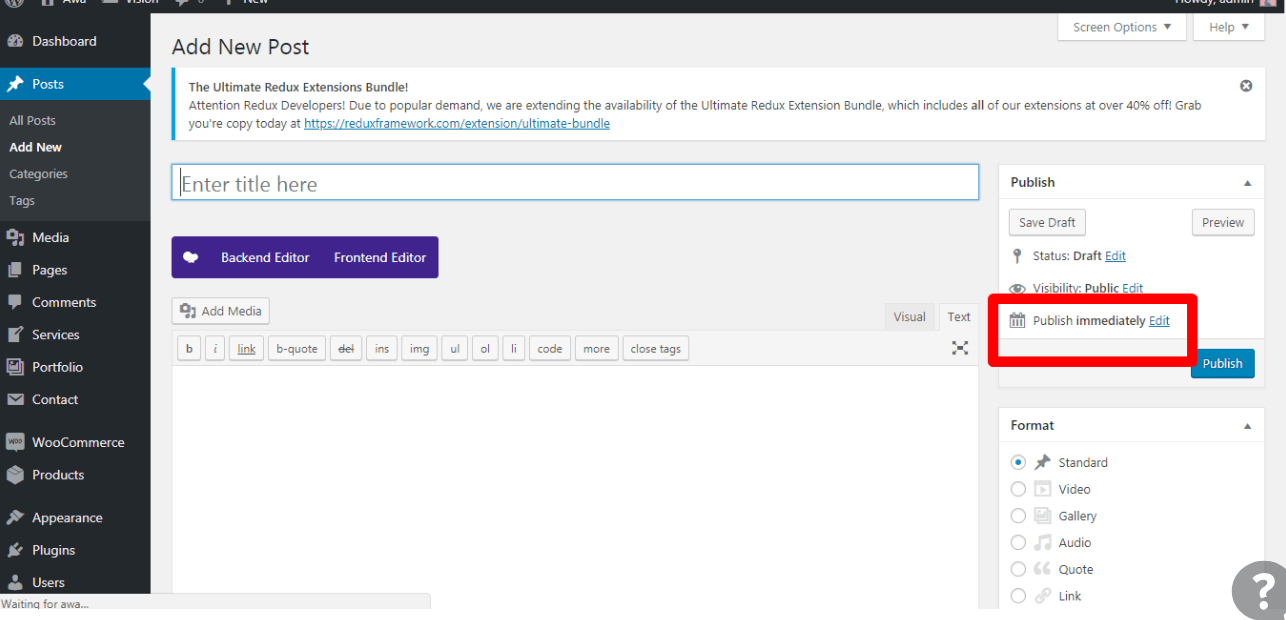
Start filling in the blanks: enter your post title in the upper field, and enter your post body content in the main post editing box below it.
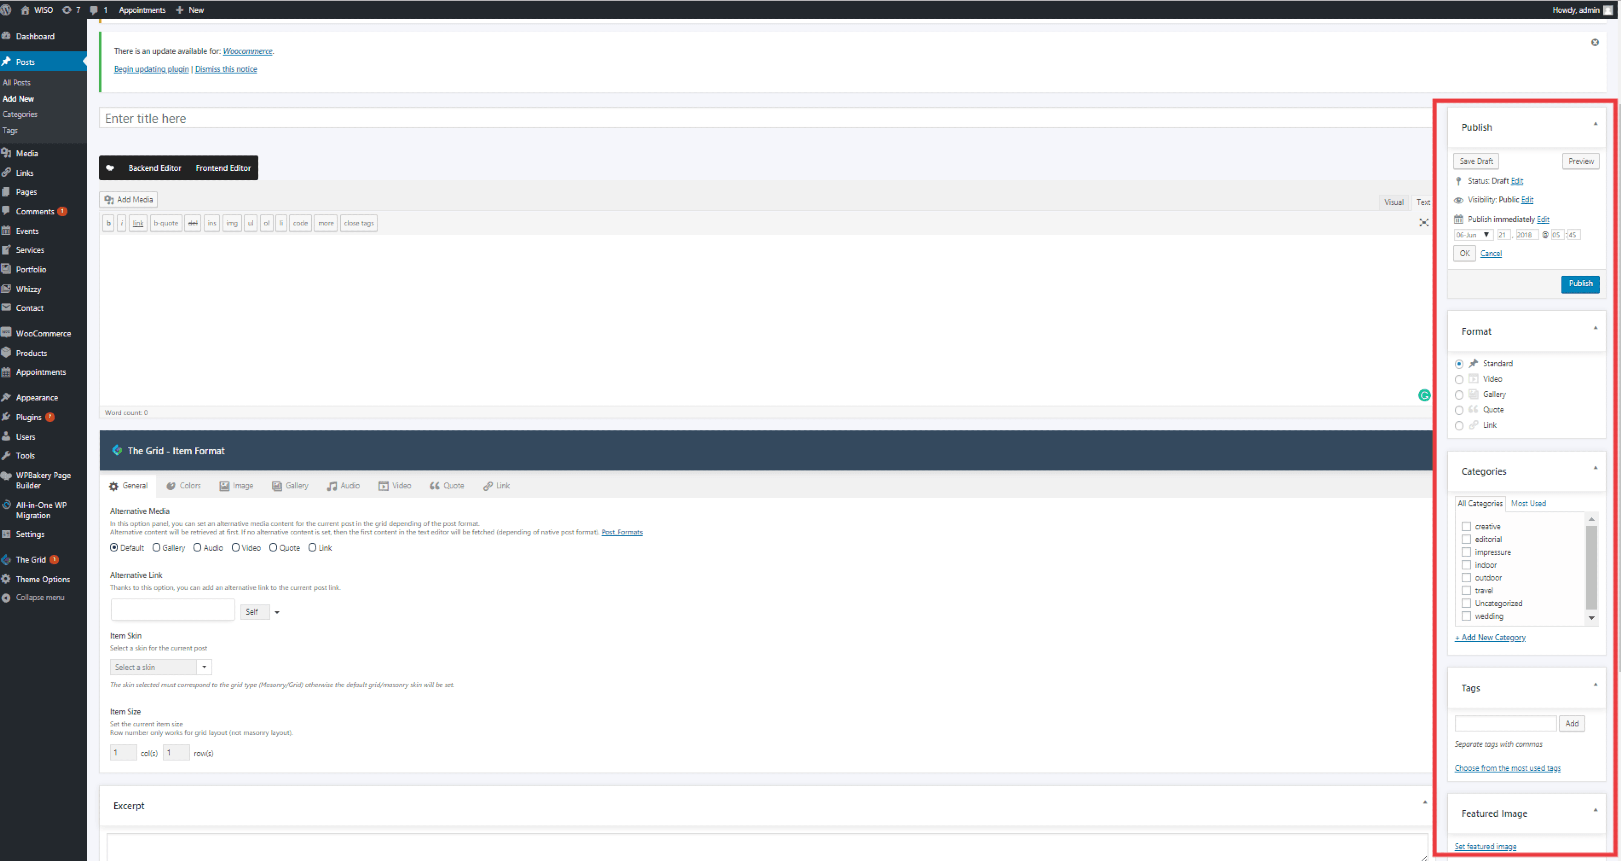
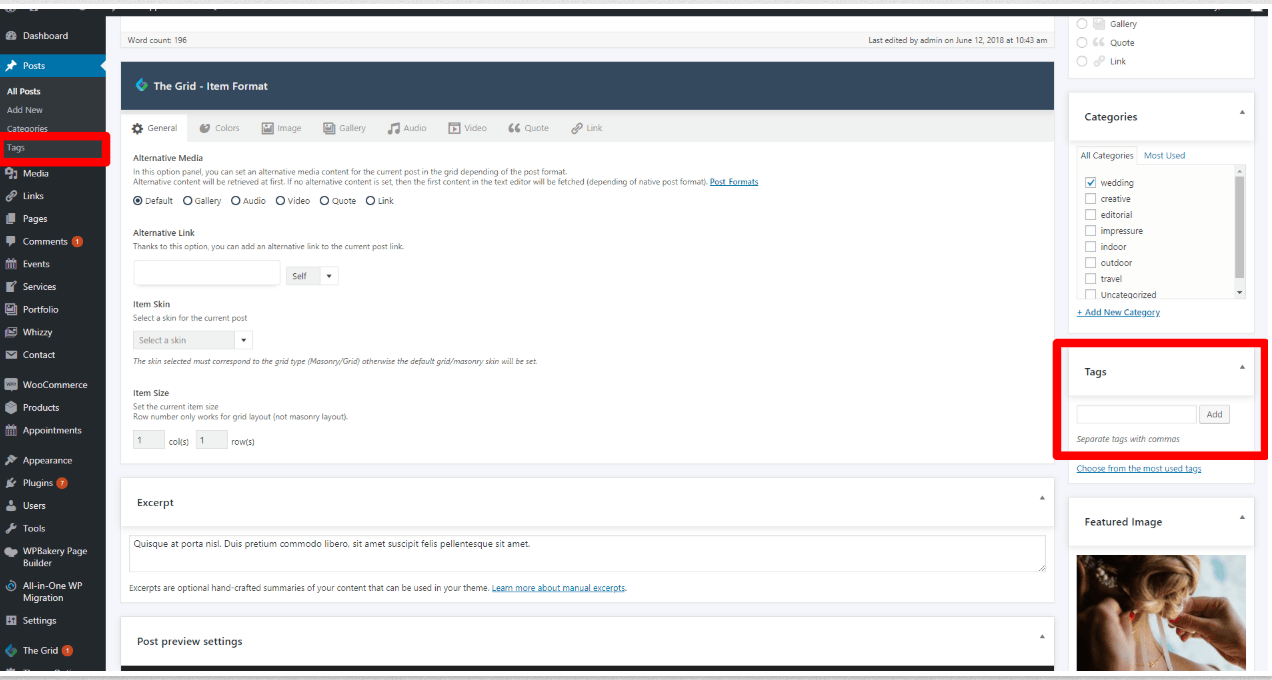
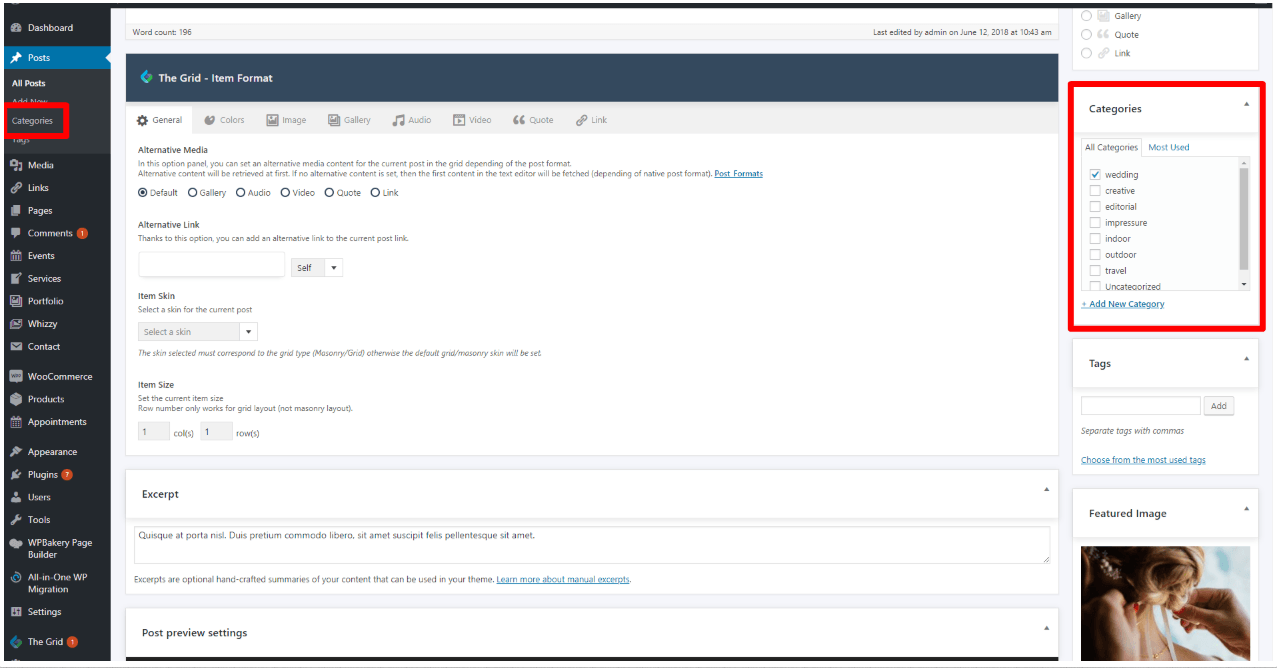
As needed, select a category, add tags, and make other selections from the sections below the post. (Each of these sections is explained below.)
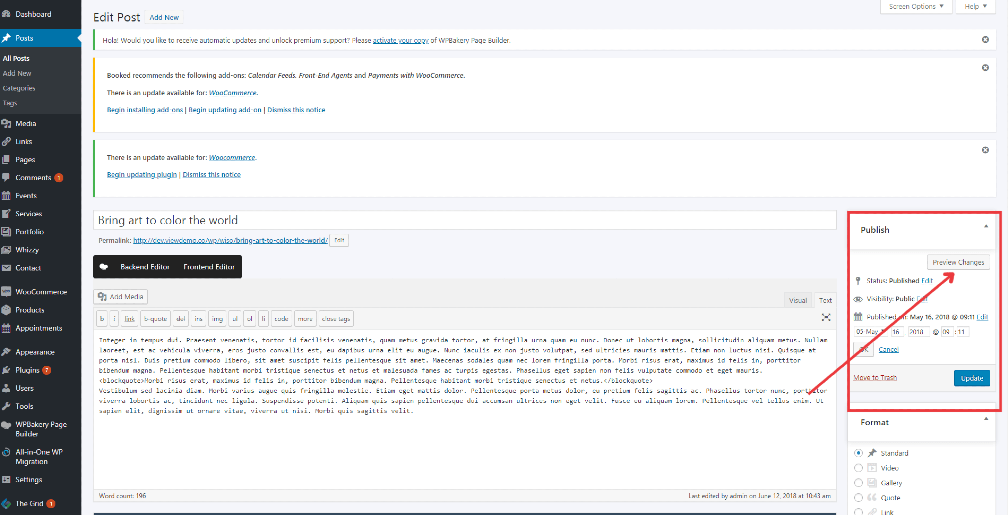
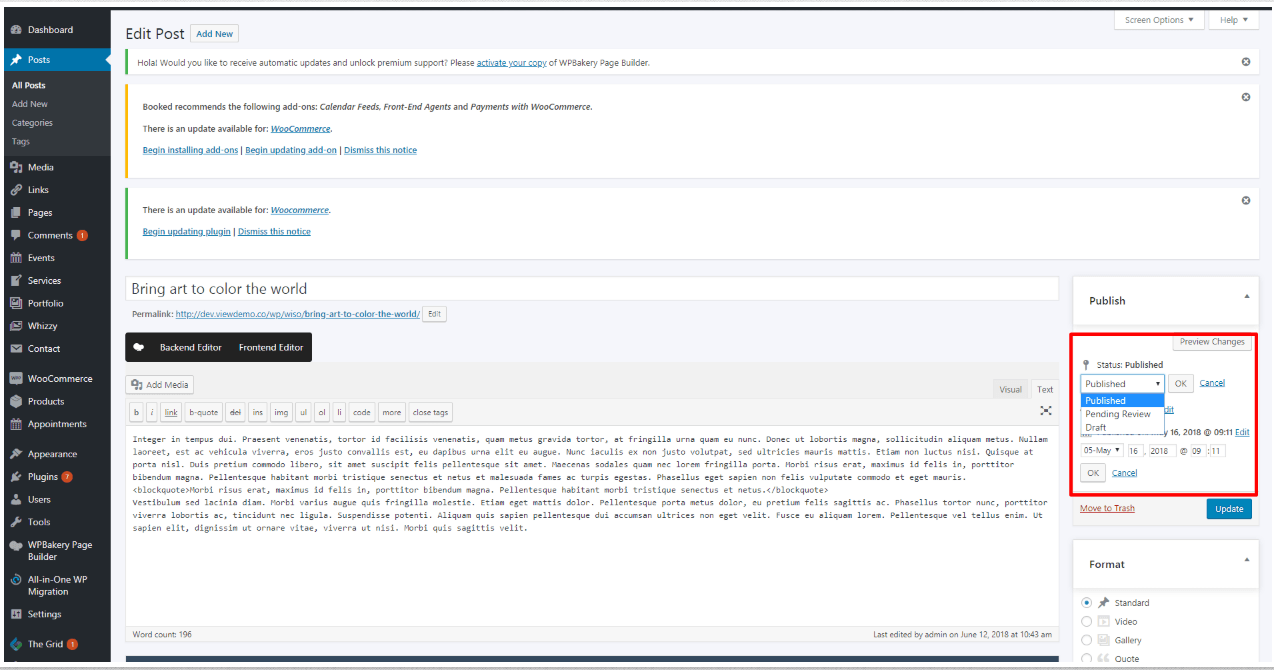
When you are ready, click Publish.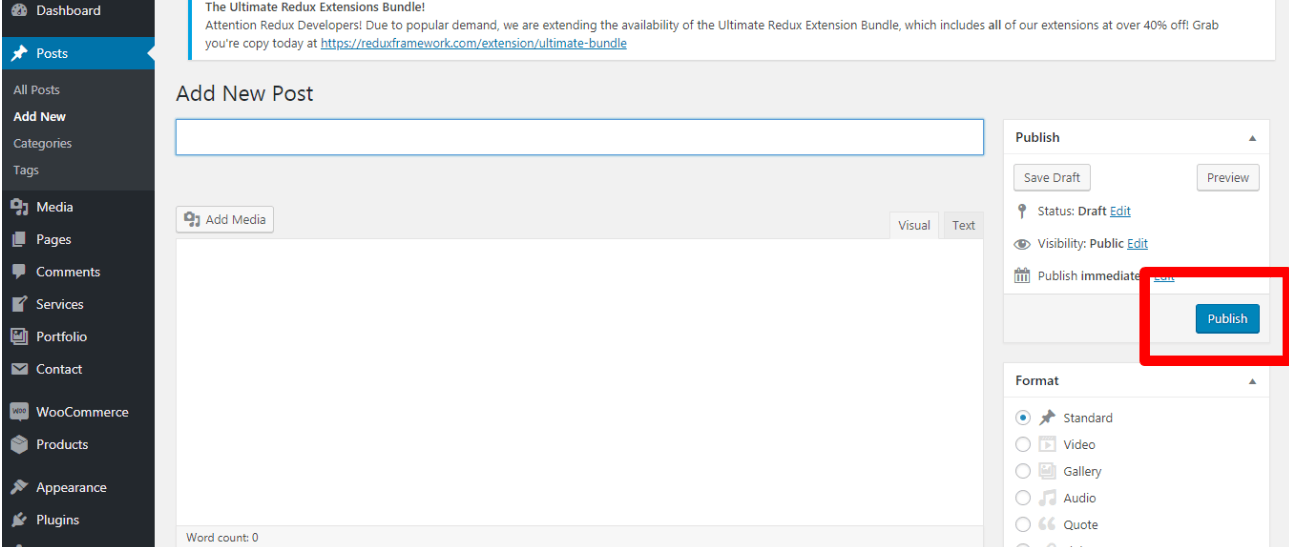
Descriptions of Post Fields #
Title/Headline Box
- b – <strong></strong> HTML tag for strong emphasis of text (i.e. bold).
- i – <em></em> HTML tag for emphasis of text (i.e. italicize).
- b-quote – <blockquote></blockquote> HTML tag to distinguish quoted or cited text.
- del – <del></del> HTML tag to label text considered deleted from a post. Most browsers display as striked through text.
- link – <a href=”http://example.com”></a> HTML tag to create a hyperlink.
- ins – <ins></ins> HTML tag to label text considered inserted into a post. Most browsers display as underlined text.
- ul – <ul></ul> HTML tag will insert an unordered list, or wrap the selected text in same. An unordered list will typically be a bulleted list of items.
ol – <ol></ol> HTML tag will insert a numbered list, or wrap the selected text in same. Each item in an ordered list is typically numbered.- li – <li></li> HTML tag will insert or make the selected text a list item. Used in conjunction with the ul or ol tag.
- code – <code></code> HTML tag for preformatted styling of text. Generally sets the text in a monospaced font, such as Courier.
- more – <!–more–> WordPress tag that breaks a post into “teaser” and content sections. Type a few paragraphs, insert this tag, then compose the rest of your post. On your blog’s home page you’ll see only those first paragraphs with a hyperlink ((more…)), which when followed displays the rest of the post’s content.
- page – <!–
nextpage –> WordPress tag similar to the more tag, except it can be used any number of times in a post, and each insert will “break” and paginate the post at that location. Hyperlinks to the paginated sections of the post are then generated in combination with the wp_link_pages() or link_pages() template tag. - Close Tags – Closes any open HTML tags left open–but pay attention to the closing tags. WordPress is not a mind reader (!), so make sure the tags enclose what you want, and in the proper way.
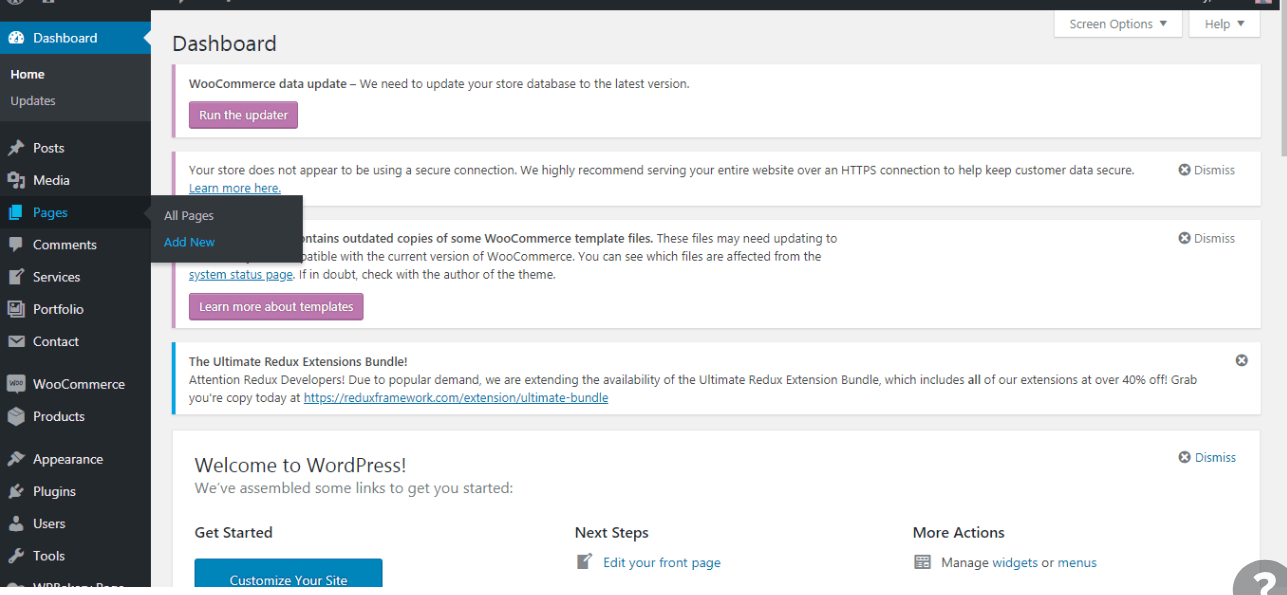
1. Add a new page. #
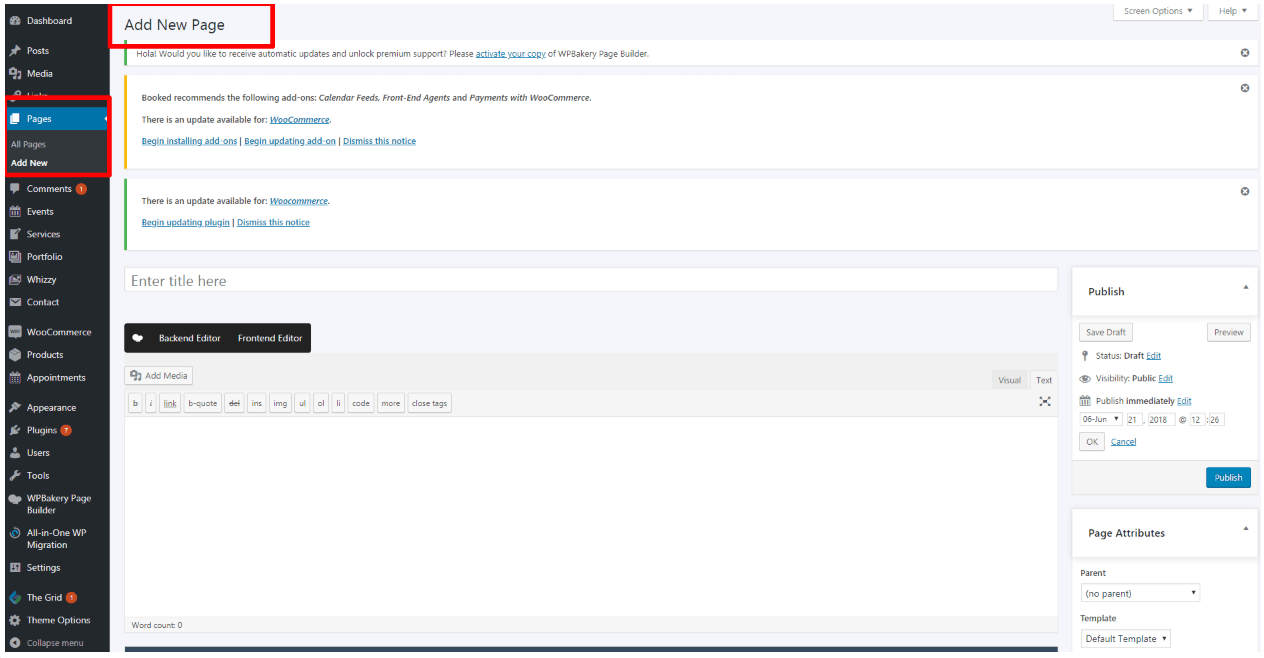
2. Name the page. #
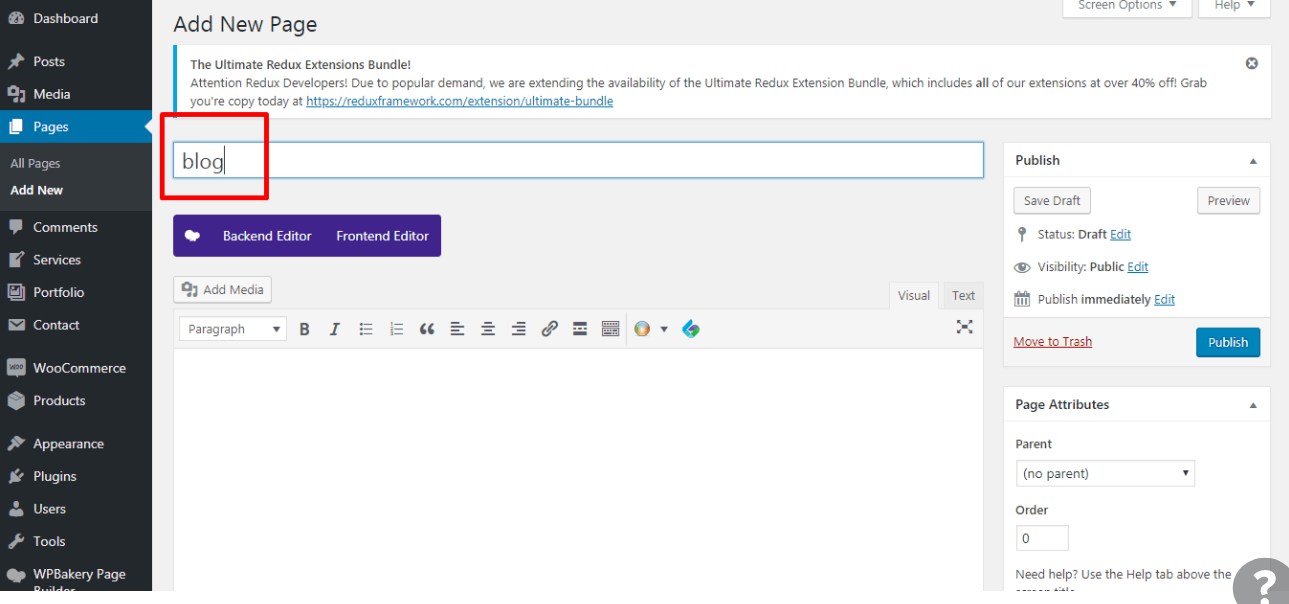
Let’s name it “Blog” for easy identification. Leave the text box blank because you want the page to act as a feed for your posts — not a static read page.
3. Publish the page. #
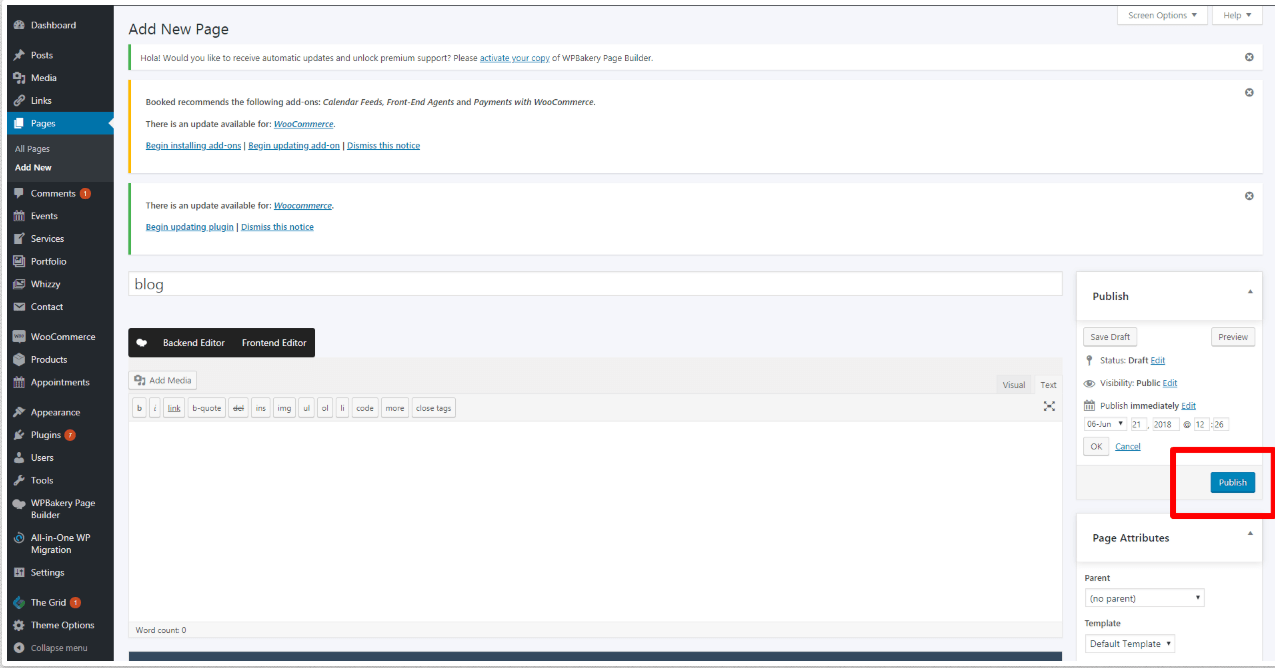
In order for your Blog page to go live, you need to publish it.
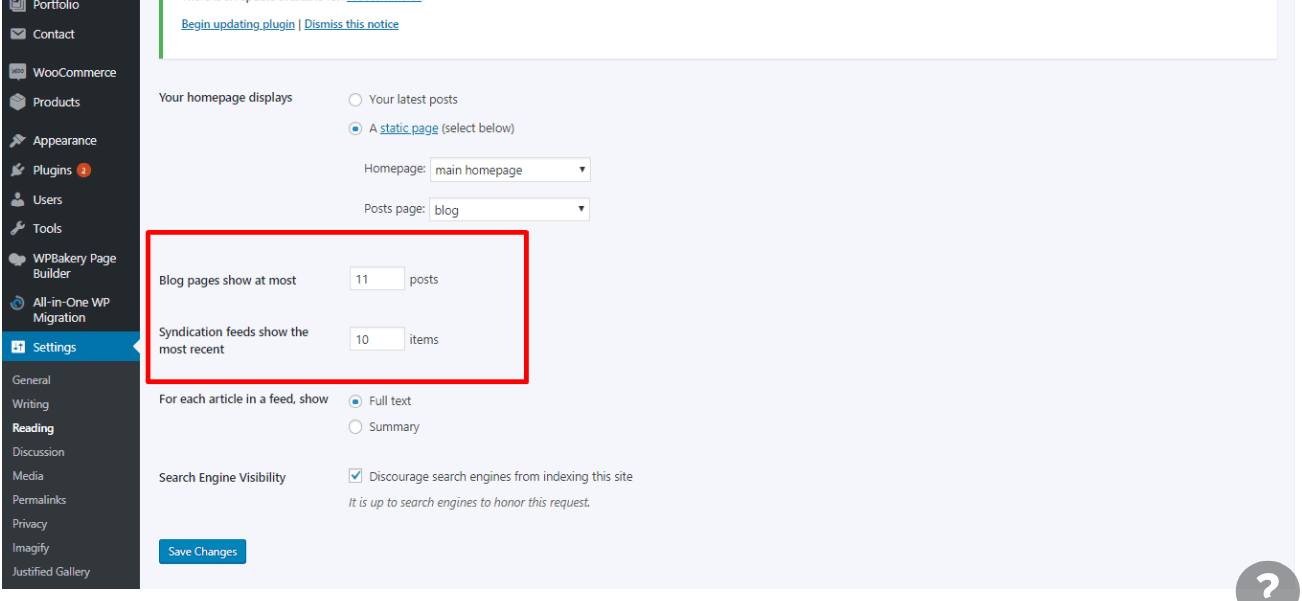
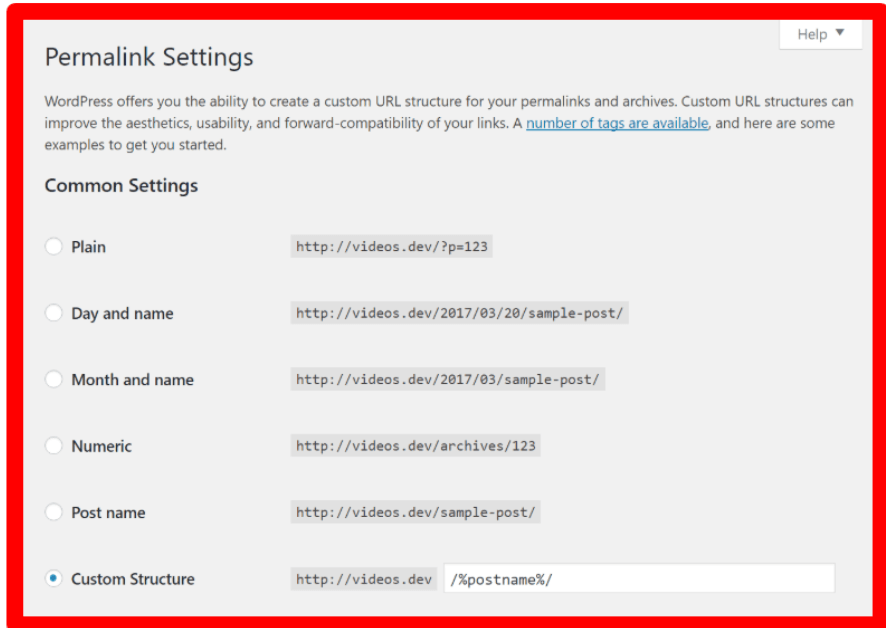
4. Navigate to the Settings section. #
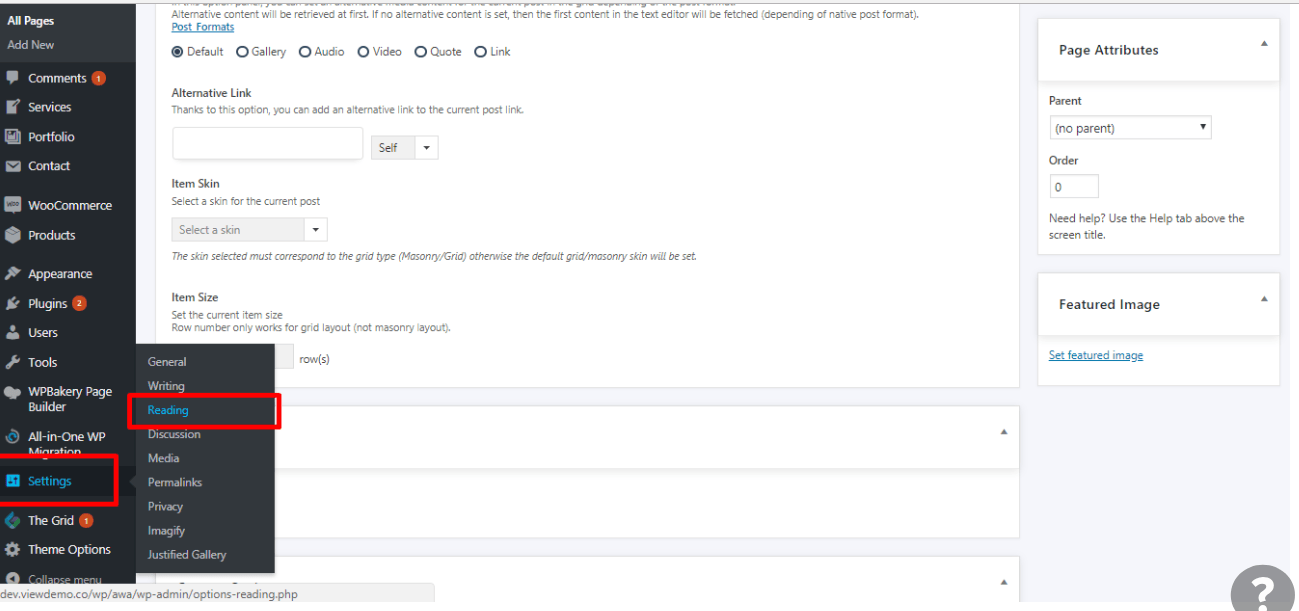
When you’re in your Dashboard, you’ll see a column along the left with all the different things you can do in WordPress. Go to Settings > Reading to bring up the page seen above.
5. Designate a Posts page. #
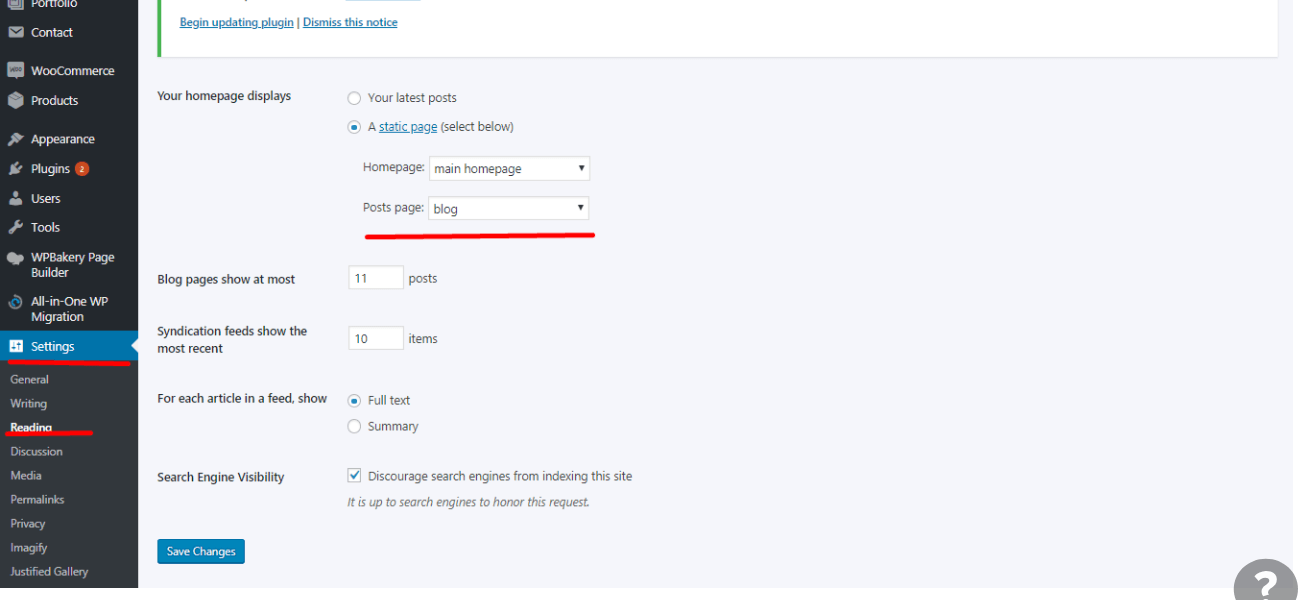
6. Determine the number of posts you want. #